Floor plan import guide
Import a floor plan from a photo: from paper plan to editable draft
An old paper drawing, a screenshot from a property listing or a clean hand sketch does not have to be traced point by point. Photo import detects closed room outlines, suggests rooms and turns them into a digital floor plan after a scale check. The result deliberately remains a draft: before ordering materials or building, compare the outlines and at least two wall lengths with the original.
The planning tool opens after free sign-up.
By the floorplanning.app editorial team
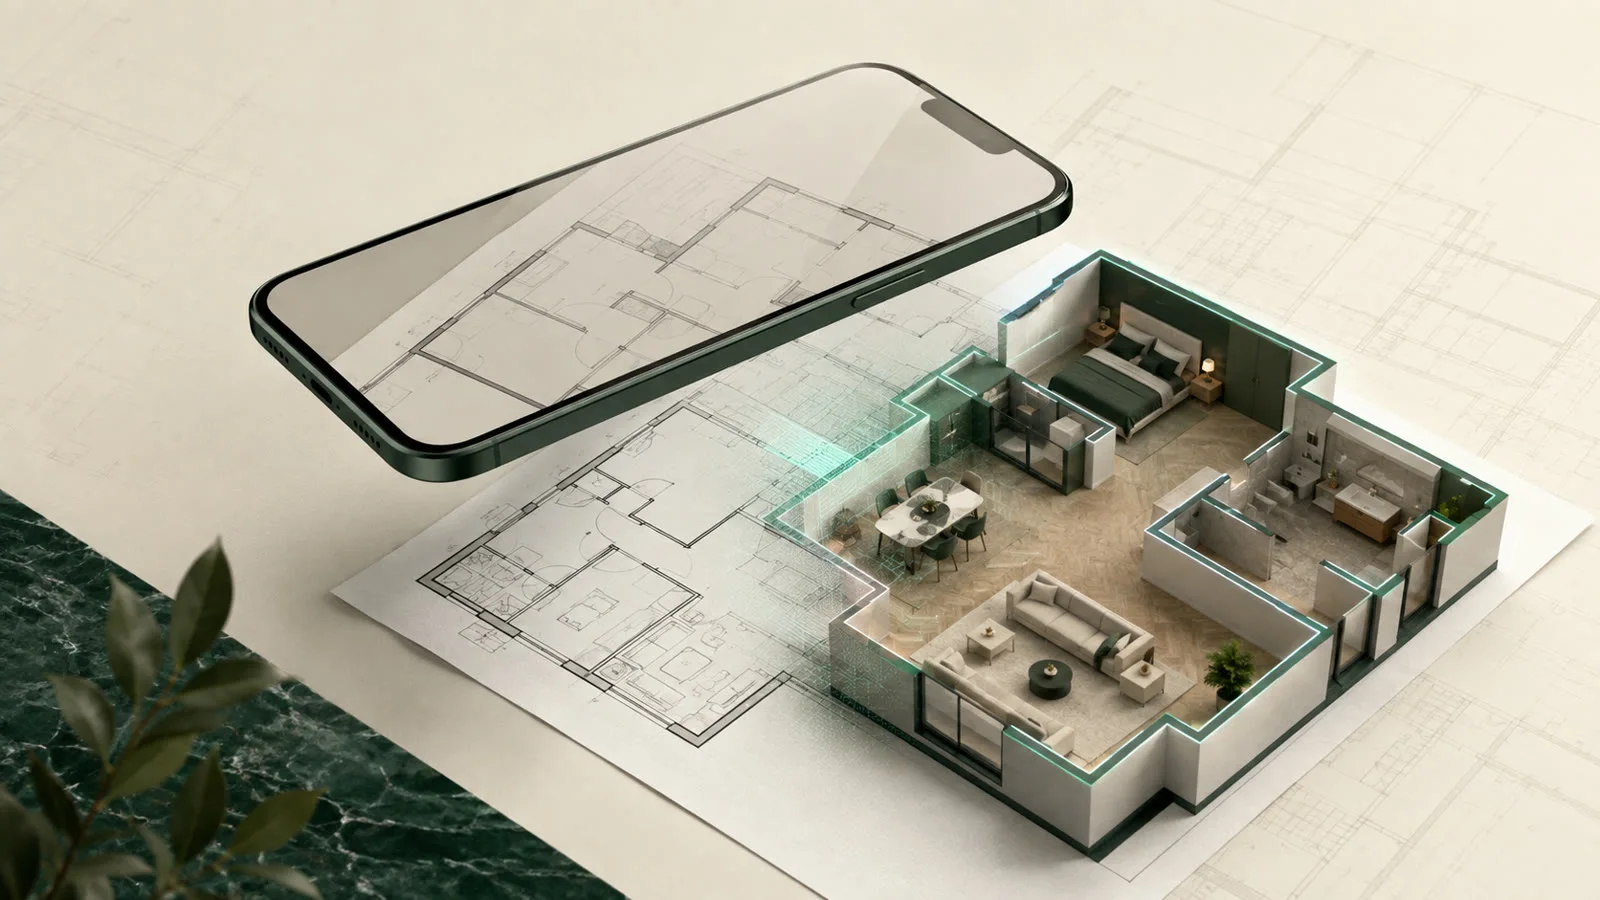
The existing plan is the starting point
The input must be a top-down floor plan: a paper plan, scan, screenshot or sketch. A photograph of the room itself contains perspective depth and therefore cannot produce a measured floor plan. Choose “Photograph floor plan” when starting the project and select the image file.

What matters in practice

Crop to the plan, but keep useful dimensions
Draw the crop tightly around the apartment or floor. Large white margins, landscaping and unrelated drawings interfere with recognition; dimension strings directly beside the plan may remain visible. If several floors share one sheet, import them separately.

One confirmed dimension scales the entire draft
After recognition, select the areas you need and confirm the length of the yellow reference line or the overall width. This dimension sets the scale for every outline. Then verify at least one second length and correct any differences in the editor before calculating flooring or pedestals.

Recognition runs in the background
While processing, the project appears as “Generating” in the overview. You can close the page and receive an email when the draft is ready. Failed recognition attempts do not use up the free import.
What photo import handles – and what you must verify
Recognition saves manual tracing, but it does not replace a survey. It provides an editable starting point that you validate against the original dimensions.
- Suitable for paper plans, scans, screenshots and clean sketches
- Select rooms individually and deselect unwanted areas
- Set the scale from one known reference dimension
- Edit outlines afterwards in the normal floor plan editor
- The image preview is deleted after no more than 30 days
Import a floor plan in 6 steps
1. Prepare the plan
Lay the paper flat, light it evenly and have at least one known dimension ready.
2. Start photo import
Choose “Photograph floor plan” when starting the project and open the photo, screenshot or scan.
3. Select the relevant area
Crop tightly around one apartment or floor while keeping adjacent dimension text visible.
4. Wait for recognition
The saved project is created in the background; an email tells you when it is ready.
5. Check areas and reference dimension
Select only the rooms you want and compare the displayed dimension with the original.
6. Verify the draft
Check at least two wall lengths, angled edges, recesses and transitions, correcting them where needed.
Examples from the tool
This is what it looks like planned out
The numbers above do not come from a spreadsheet but from a real layout. You can open these example projects directly – floor plan, laying plan and material list, exactly as the tool outputs them.

Three-room flat, one grid
Six rooms, eleven walls, five doorways – and a single herringbone grid running through every opening. Material is calculated for the whole flat at once.
- 63.79 m² across 6 rooms
- 90 × 30 herringbone, one grid
- 334 planks · 199 cuts

Small bathroom with tub and stud wall
Under 3 m² of floor left, but two cutouts: this room produces more cut tiles than full ones – exactly where the m² rule of thumb fails.
- 2.82 m² · 30 × 60 · 2 mm joint
- 9 full tiles, 22 cuts
- 35 tiles incl. 10% reserve
Opens the read-only client view of a share – the same one you create for your own projects with Premium.
Common questions about photo import
Can I turn an ordinary room photo into a floor plan?
No. The input must be an existing top-down view such as a paper plan, screenshot, scan or clean sketch. Perspective room photos are not to scale and are rejected.
Does the floor plan need to show a dimension?
A readable dimension improves the workflow but is not mandatory. If no reference is detected, you can enter the overall width of the detected outlines. You still need to know one real length.
Is the imported floor plan immediately accurate to scale?
Only after you confirm a reference dimension. Even then, the result is a draft. Compare at least two additional dimensions and every critical outline with the original.
How long does recognition take?
It runs asynchronously in the background. The project remains saved and you receive an email as soon as the draft is ready for review.
What happens to my photo?
The image is sent to OpenAI for recognition. A reduced preview is stored for no more than 30 days and then deleted. Do not upload photographs of occupied rooms, people or personal belongings.
Related guides
- How to photograph a floor plan: 7 tipsStraight perspective, readable dimensions and complete outlines: how to photograph or scan a floor plan so rooms and walls can be detected reliably.
- How to measure out-of-square roomsMeasure a room without right angles using diagonals and triangulation, draw skewed walls correctly, and calculate flooring materials accurately.
- Plan recesses and cutoutsWhat the m² formula leaves out: columns, ducts and pipes create extra cuts instead of less demand. How to draw cutouts and calculate honestly.
Digitise an existing floor plan
Upload a photo, scan or screenshot, review the detected rooms and continue editing the draft.
The planning tool opens after free sign-up.