Image quality guide
How to photograph a floor plan: 7 tips for more accurate recognition
Recognition can only evaluate lines and dimension text that are clearly visible in the image. Perspective, shadows, folds and excessive margins are therefore not cosmetic problems: they change the detected geometry. One minute of preparation can produce a much better digital draft from the same paper plan.
The planning tool opens after free sign-up.
By the floorplanning.app editorial team
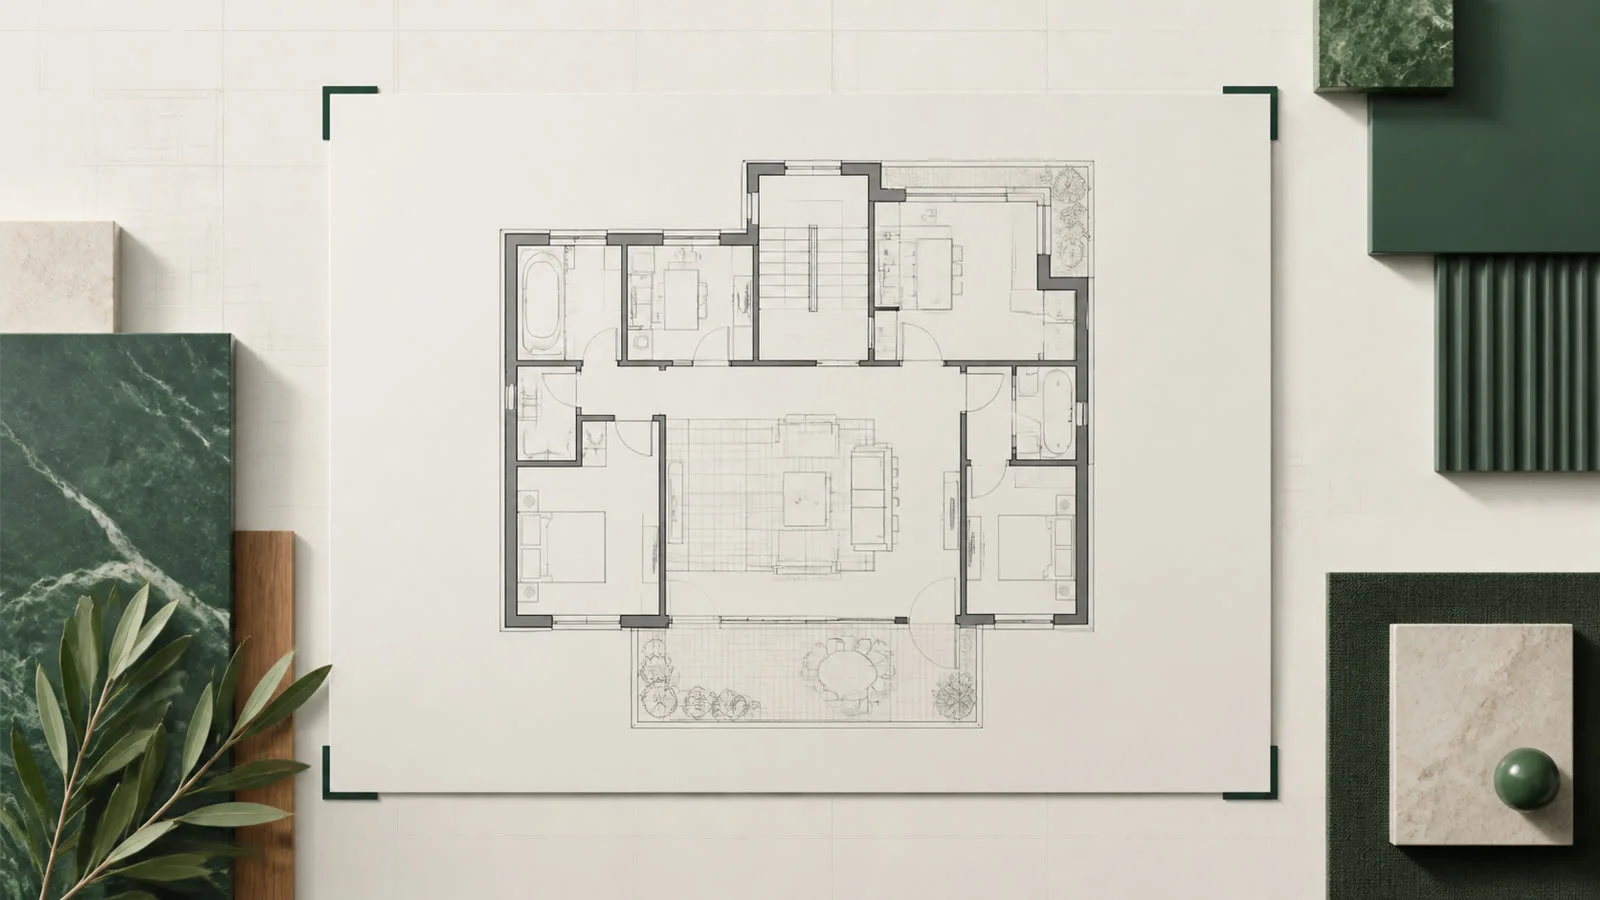
Top-down, straight, complete and readable
Lay the plan flat and keep the camera parallel to the paper. Every outside edge of the apartment or floor must be in frame. A slight tilt may be tolerable, but a clearly trapezoidal page makes parallel walls appear to have different lengths.

What matters in practice

Photograph the plan – never the room
Import reconstructs lines from a two-dimensional top-down view. It does not calculate a floor plan from furniture, floors or walls in a room photograph. A direct screenshot is also better than an angled photo of a listing displayed on a screen.

The best reference dimension spans a useful distance
Use a long, unambiguous wall or overall width as the reference where possible. A small reading error has less percentage impact on a 4.80 m dimension than on a 40 cm recess. Then check a length in the other direction so perspective distortion becomes visible.
The 7 rules for a good floor plan photo
The order follows the most common causes of unreliable outlines. The first three points usually make the greatest difference.
- Hold the camera directly over the centre of the page
- Flatten the paper and show every required outer edge
- Use diffuse light instead of hard shadows or flash glare
- Get close enough for dimension text to remain readable
- For digital plans, take a screenshot instead of photographing the monitor
- Import only one apartment or floor per image
- Know one long reference distance and a second check dimension
How to take the photo
1. Flatten the paper
Weigh down folds and raised corners without covering lines or dimensions.
2. Light it evenly
Use daylight or two lights from the sides; avoid direct flash and the phone’s shadow.
3. Align the camera parallel
The page should remain rectangular in the viewfinder. If its edges form a trapezoid, realign the camera.
4. Focus on lines and text
Tap a fine dimension label and verify that it remains readable when zoomed in.
5. Check completeness
No outer wall, recess or relevant dimension string may be cut off at the image edge.
6. Crop tightly during import
Exclude empty margins, legends, north arrows and other floors; keep dimensions directly beside the plan.
7. Cross-check the result
After scaling, compare one long horizontal and one long vertical wall with the original.
Examples from the tool
This is what it looks like planned out
The numbers above do not come from a spreadsheet but from a real layout. You can open these example projects directly – floor plan, laying plan and material list, exactly as the tool outputs them.

Three-room flat, one grid
Six rooms, eleven walls, five doorways – and a single herringbone grid running through every opening. Material is calculated for the whole flat at once.
- 63.79 m² across 6 rooms
- 90 × 30 herringbone, one grid
- 334 planks · 199 cuts

Attic room with a slope
A five-sided outline instead of length × width: the slope is drawn as a real edge and the planks run lengthwise – every cut along the slope counted individually.
- 14.71 m² with an angled edge
- 128 × 19 cm plank, laid lengthwise
- 87 planks · 11 packs
Opens the read-only client view of a share – the same one you create for your own projects with Premium.
Common image-quality questions
Is a scan better than a photograph?
Usually: it is straight, evenly lit and free from perspective distortion. A sharp smartphone photo taken parallel to the page can also work well.
What resolution does the image need?
What matters is that thin wall lines and important dimension text remain clear when enlarged. If import warns that the image is small, retake it from closer up or at a higher resolution.
Should I crop away margins and dimension strings?
Crop large empty margins and unrelated drawings. Keep dimensions immediately beside the plan because they may help recognition and scaling.
Can I photograph several floors at once?
Preferably not. Import only one floor or apartment per image. This makes outlines unambiguous and allows a tighter crop.
Why are width and depth not both correct despite the reference dimension?
That is a typical sign of perspective distortion: the camera was not parallel to the page or the paper was curved. Photograph the plan again from directly above and then check dimensions in both directions.
Related guides
- Import a floor plan from a photo: complete workflowPhotograph a paper floor plan, screenshot or sketch, detect rooms automatically and turn it into an editable, scaled draft – explained step by step.
- How to verify out-of-square roomsMeasure a room without right angles using diagonals and triangulation, draw skewed walls correctly, and calculate flooring materials accurately.
- Plan open floor plans as one areaChoose a continuous grid or divided areas and plan flooring, expansion joints, field sizes, and material quantities for open-plan living spaces.
Import a clean floor plan photo now
Capture the plan straight, select the relevant area and verify the detected draft with two dimensions.
The planning tool opens after free sign-up.