Tiling guide
Open-plan living and dining: one floor or a divide?
This decision is usually justified with the material price – and that is exactly the weakest reason. We calculated our open example area (22.7 m² living plus 16.0 m² dining) both ways: continuous grid 65 tiles, planned separately 66. A single large-format tile of difference. So in material terms the question is settled before it is asked. What really counts: sight lines, screed fields and whether you want to connect or separate the zones visually.
The planning tool opens after free sign-up.
By the floorplanning.app editorial team
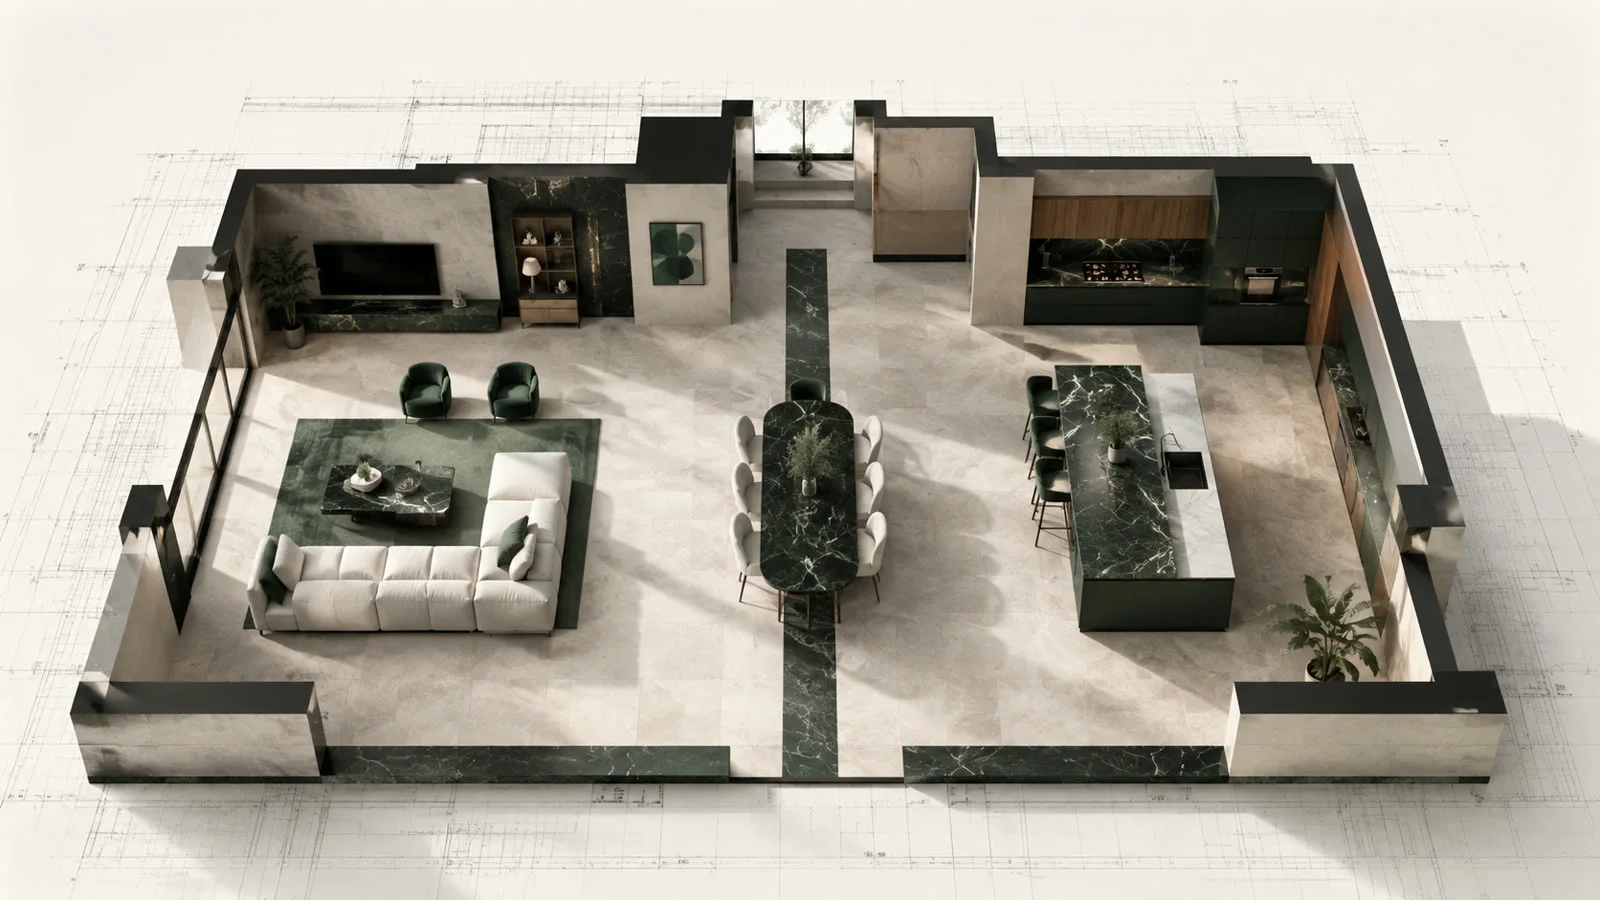
Continuous makes the room look larger
A continuous grid without interruption is the most effective trick for making an open plan feel generous: the eye finds no edge at which to divide the room. Every dividing line – even a decorative one – halves the perceived area. If you have decided on open plan, the floor should not undo that.

What matters in practice
The screed has a say
Large continuous areas need movement joints – rule of thumb indoors: every 5 to 8 metres or from about 40 m² of field size, closer with underfloor heating. These joints must be carried from the screed into the covering; a tile glued across a field boundary will crack. They are the real technical reason for a divide – not the looks.
Zone without cutting up the floor
If you want to separate living and dining visually, there are better tools than a change of covering: a rug, a dropped ceiling, a block of furniture, a light line. All of them can be changed later – the floor cannot. A change of covering in the middle of the area is the one form of zoning you will still regret in ten years.
One axis for everything
If continuous, then consistently so: the grid is aligned once for the entire area, along the longest sight line – usually the view from the door to the window front. All secondary zones, passages and recesses take their cuts from that one grid. Planning zone by zone produces exactly the offset in the passage that cannot be argued away later.

65 versus 66 tiles
We calculated both variants with the same format (60 × 120 in third bond): continuous 65 tiles and 25 cuts, planned separately 66 tiles and 26 cuts. The material difference is within rounding – do not use it as an argument, in either direction.
Deciding on the right criteria
Material is the weakest argument here – the difference in our calculation was a single tile. Decide on effect and technical constraints.
- Continuous makes open plans feel larger
- Movement joints in the screed must be carried into the covering
- Zone with rugs, furniture and light rather than with the covering
- One grid for everything, aligned to the longest sight line
How to plan the open area
1. Create both zones
Capture living and dining as areas in one floor plan.
2. Clarify field boundaries
Check screed fields and movement joints before fixing the grid.
3. Set the axis
Align the grid to the longest sight line and run it across both zones.
Examples from the tool
This is what it looks like planned out
The numbers above do not come from a spreadsheet but from a real layout. You can open these example projects directly – floor plan, laying plan and material list, exactly as the tool outputs them.

Opens the read-only client view of a share – the same one you create for your own projects with Premium.
Common questions
Should living and dining have the same floor?
In an open plan almost always yes. The continuous covering is what makes the room feel large. In material terms it hardly matters – a single tile in our example. Separate only when screed fields, different build-up heights or underfloor heating demand it.
From what size does an area need an expansion joint?
Indoors, as orientation, from about 40 m² of field size or 5 to 8 m edge length, earlier with underfloor heating. What counts are your screed contractor’s specifications and the existing field boundaries – the joint in the covering must sit above the joint in the screed, not where it looks best.
How do I zone without changing the covering?
With rugs, furniture placement, ceiling height or lighting. All four are reversible and work more strongly than a floor edge. If it does have to be the floor, changing the laying pattern while keeping the same material is the most restrained option.
Can I plan both zones in one project?
Yes, and that is exactly how it should be. Both areas sit in the same floor plan, the grid runs across both, and the material list combines the quantities – including the cuts that occur in the passage between the zones.
Read on
- Thresholds: where do you break the pattern?Continuous grid or a clean break in the doorway? When a shared grid across rooms pays off and how to check it on the floor plan first.
- Laying herringbone across multiple roomsPlan continuous herringbone across rooms: shared grid, direction and door transitions checked on the floor plan, with combined material totals.
- Large or small format?Eight formats, 500 rooms, the same room per run: 20×20 gets by with a median surplus of 0.3%, 60×120 needs 17.4%. The full comparison table.
Plan the open area as one surface
Create both zones, lay one grid over them and check the difference to separate planning yourself.
The planning tool opens after free sign-up.