Tiling guide
Thresholds: where do you break the pattern between two rooms?
The rule is shorter than the arguments about it: same covering → continuous grid, no break in the doorway. Different covering or format → cleanly separated, right under the closed door leaf. It only goes wrong in between – when the same floor continues but each room was planned on its own. Then the joints meet in the doorway a few centimetres offset, and that offset is exactly where you can tell a floor was not planned.
The planning tool opens after free sign-up.
By the floorplanning.app editorial team
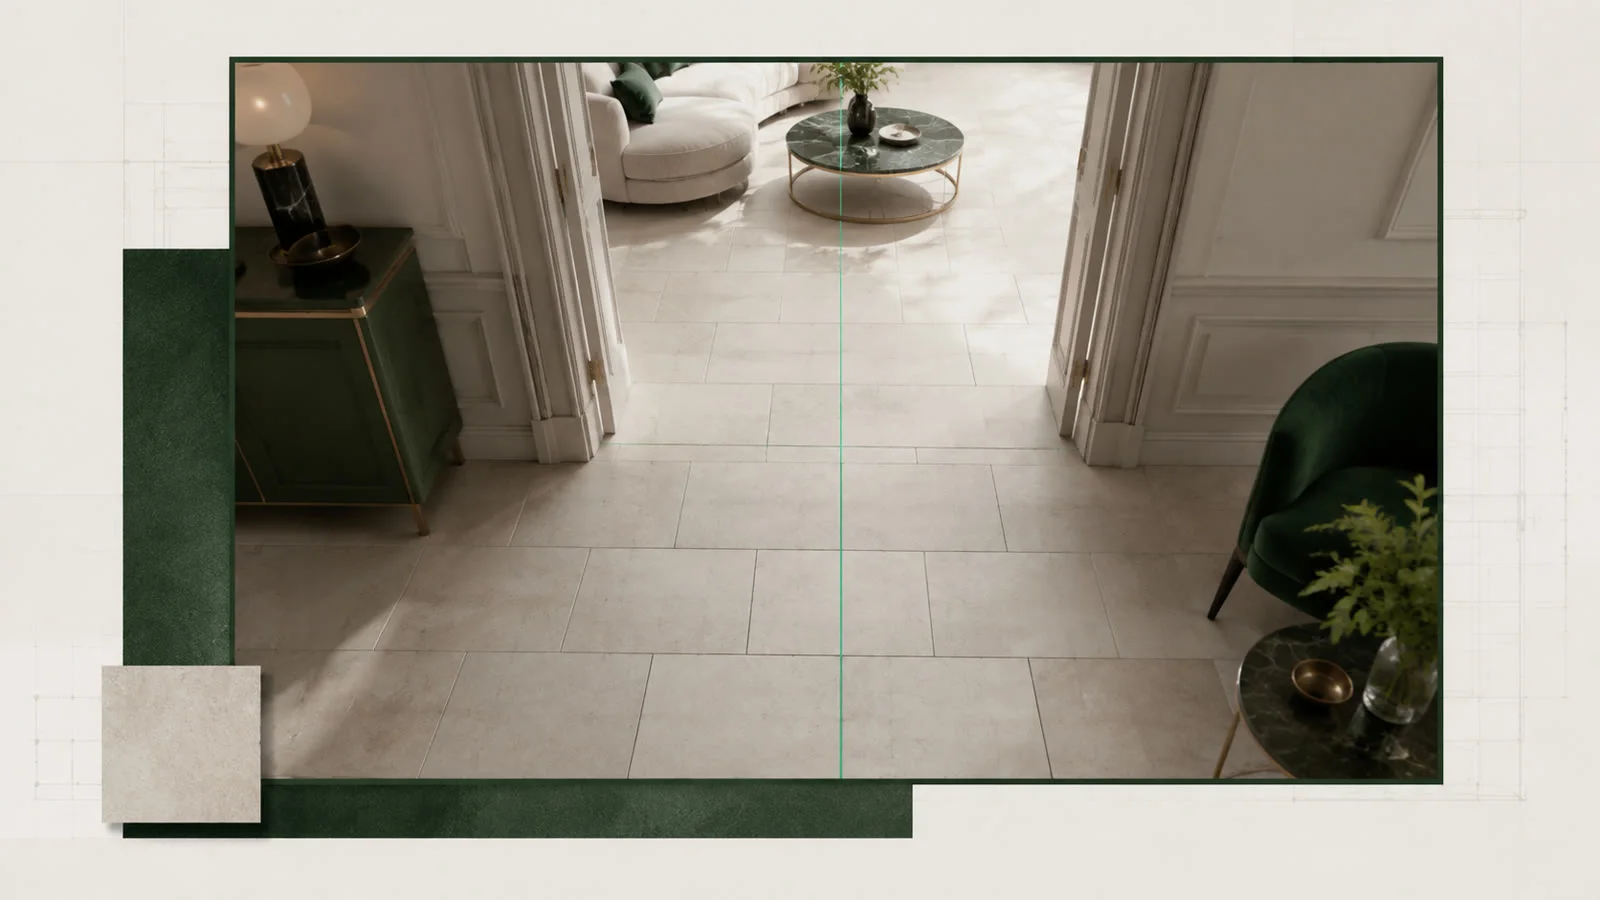
One grid for all rooms
If the same covering runs through, the grid is set once for the whole area – across doors and hallways. The joint lines then continue through the opening without a jump. That is the difference between “laid continuously” and “laid twice”. In planning terms: capture all rooms first, then set the axis, not the other way round.

What matters in practice
If you separate, do it under the door leaf
With different coverings – tile meets parquet, bathroom meets hallway – the dividing joint belongs exactly under the closed door leaf, not at the frame edge and not centred in the opening. That way the transition is invisible from either room, and the joint can absorb the movement of both coverings. The profile is aligned to the centre of the door leaf before the last row is glued.
A leftover strip never belongs in the opening
The doorway is the most brightly lit and most frequently crossed spot of the floor. A narrow strip there is not only badly placed for the eye, it is also mechanically the weakest point. So plan the grid so a full tile – or at least half a tile – sits in the reveal; if need be, shift the entire area by a few centimetres for it.
The second reason to separate: build-up height
Not every transition is a design question. Different build-up heights, a screed field ending at the door, or a movement joint in the substrate force a separation – regardless of whether the covering is the same. Movement joints in the screed must be carried through into the covering, otherwise the tile cracks exactly there.

Several rooms, one material list
A shared grid has a second advantage that is rarely mentioned: the offcuts from one room fit the edges of the other. Planning all areas together shows the total in one list – instead of ordering twice with separate reserves and ending up with two opened pallets.
Separate or continue: the decision rule
The question sounds like taste but is usually decided technically. Only when covering, format and substrate are identical do you have a choice at all – and then the answer is almost always “continue”.
- Same covering, same substrate: one shared grid across all rooms
- Different covering or format: dividing joint under the closed door leaf
- Movement joint or screed field boundary in the substrate: separating is mandatory
- A full tile sits in the door reveal, never a leftover strip
How to plan the transition
1. Capture all rooms
Create areas, walls and doors in one floor plan, not one after another.
2. Set the axis jointly
Align the grid to the most important room and let it run through the doors.
3. Check the reveal
Check that no narrow row lands in the doorway, otherwise adjust the offset.
Examples from the tool
This is what it looks like planned out
The numbers above do not come from a spreadsheet but from a real layout. You can open these example projects directly – floor plan, laying plan and material list, exactly as the tool outputs them.

Opens the read-only client view of a share – the same one you create for your own projects with Premium.
Common questions
Where do you separate tiles between two rooms?
Under the closed door leaf. There the joint is invisible from both rooms. The frame edge or the centre of the opening are the typical mistakes – from one side you then always look at the division.
Does the pattern have to run through the threshold?
If the same covering is in both rooms: yes. An offset in the doorway is immediately visible because both joint grids are seen at once. With different coverings or formats you separate deliberately instead.
What if the rooms are different sizes?
Room size does not matter, only the shared axis. Set it by the room that is seen most – usually the larger one. The secondary rooms then get the cuts, which is normally unproblematic because furniture stands there.
Does a continuous floor need a movement joint in the doorway?
Often yes. Doorways are bottlenecks where stresses concentrate, and a screed field usually ends there anyway. Joints in the substrate must be carried through into the covering – a tile glued across a movement joint will crack.
Can I plan several rooms in one project?
Yes. You create all areas in the same floor plan – including walls and doors – and the grid runs across every room that gets the same covering. The material list combines the quantities.
Read on
- Laying herringbone across multiple roomsPlan continuous herringbone across rooms: shared grid, direction and door transitions checked on the floor plan, with combined material totals.
- Where does the cut row go?The cut row has to go somewhere. Which wall can take it, how narrow a border strip may get, and how to see both on the floor plan before you glue.
- Centre or wall: where do you start?Centre or wall edge? The axis decides symmetry and material demand. Analysis of 500 rooms plus a live comparison of both starting points on the floor…
Plan several rooms with one grid
Create rooms, walls and doors and check how the grid runs through the opening – before the first cut.
The planning tool opens after free sign-up.