Tiling guide
Laying tiles: where do you start – centre or wall?
The short answer: in rooms you take in at a glance – bathroom, kitchen, living room – set the centre axis and work symmetrically outward. Where a wall or a run of units leads the eye, start flush against that edge. What symmetry costs can be quantified: in our analysis of 500 rooms the centred start needed a median of 7.8 percentage points more material than the flush wall start. That is not an argument against the centre – it is the price you pay knowingly. On the floor plan you see both axes side by side before the first bucket of adhesive is open.
The planning tool opens after free sign-up.
By the floorplanning.app editorial team
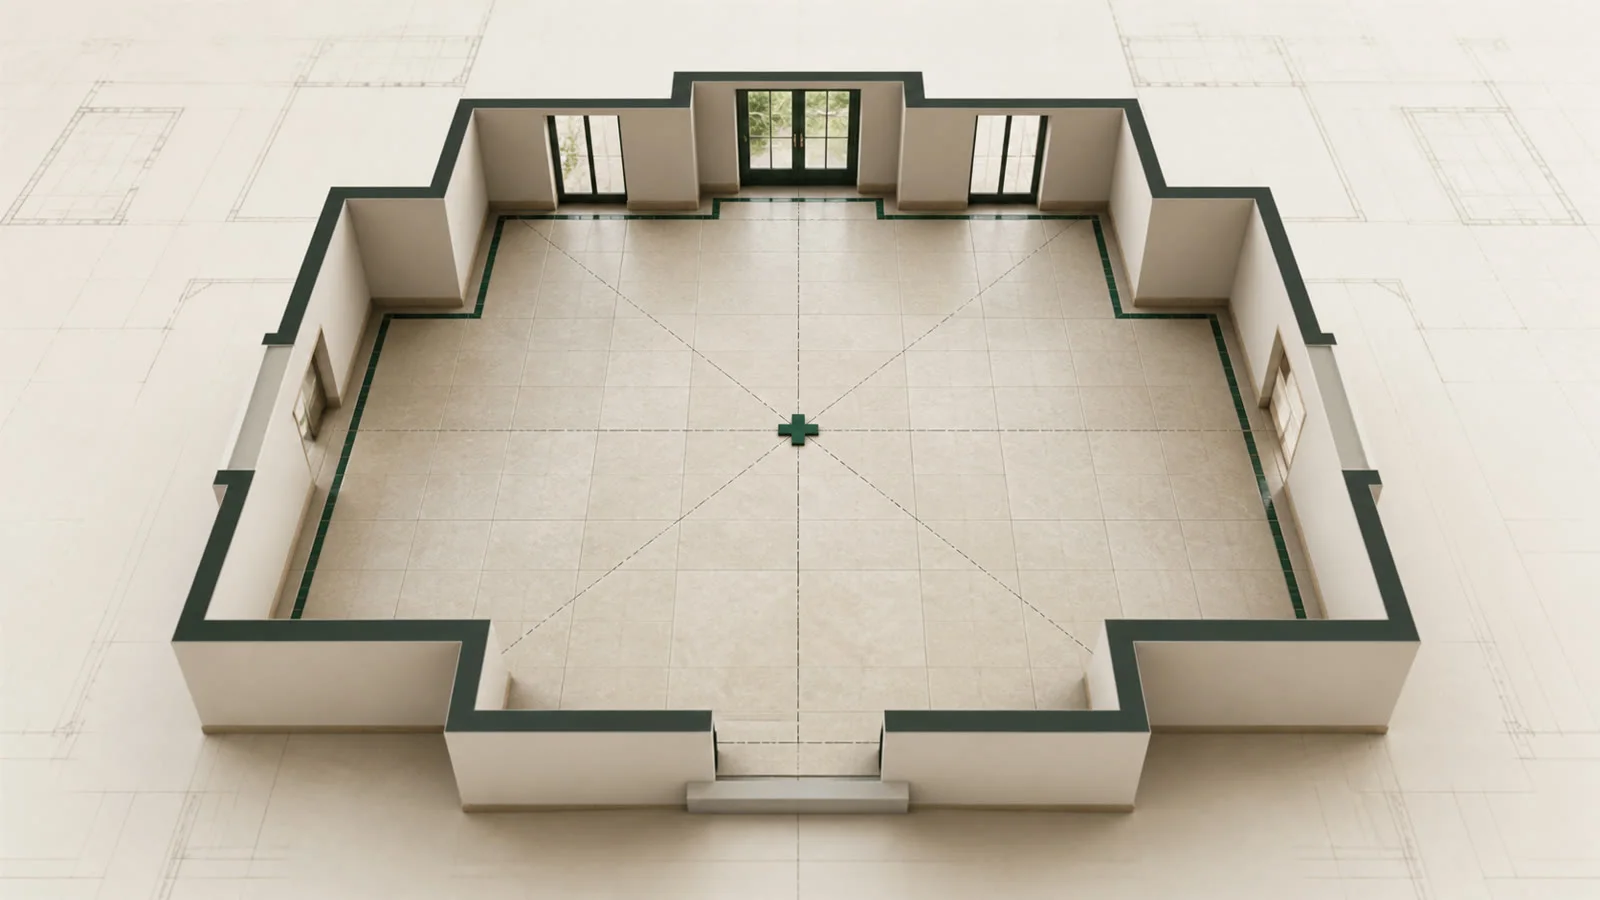
Wall start: economical, but one-sided
Start flush in a corner and two walls get a full tile while the two opposite ones get the entire remainder. In material terms that is almost always the optimum – our optimizer found no cheaper offset in 497 of 500 rooms. Visually it is a bet: if the remainder falls kindly, nobody notices. If it does not, a three-centimetre strip sits along the wall you look at.

What matters in practice

Centre axis: calm, but pricier
Put a tile or a joint centred on the room axis and the border rows left and right end up equally wide. The eye then reads the room as symmetrical even when the walls are not. The price: instead of one cut row per axis you get two. In the example room above – 3.60 × 2.80 m with 60×60 – that is 20 full tiles and 10 cuts for the wall start versus 15 full and 20 cuts for the centre: 30 against 35 tiles. Across all 500 rooms the centre was more expensive in 426 cases, equally expensive in 71 and cheaper in only 3.
Symmetrical is not automatically right
There are two centred variants: a tile sits on the axis – or a joint does. Both are symmetrical, but they produce completely different border widths. The median material difference between them is 2 percentage points, in the extreme case of our catalogue 79. So whoever picks the centre should try both, not the first one.
The rule behind it: the first glance
Decide by the sight line, not by material. Whatever you see first on entering gets the full tile: the wall opposite the door, the open area in front of the shower, the visible side of the kitchen island. Whatever furniture, skirting or a bathtub hides can take the remainder. In small rooms the effect is largest – there symmetry costs a median of 10.9 percentage points, in rooms from 15 m² only 6.0.

Both axes, the same numbers
Shift the grid offset from the wall edge to the room centre and watch the result panel: full tiles, cuts and total demand change immediately. Two clicks show what the symmetrical variant costs in your room specifically – instead of relying on a median from 500 other rooms.
The decision in four questions
The starting point is not “where do I put the first tile” but “which edge of the room should look perfect”. Everything else follows – the axis, the border widths and finally the quantity.
- What do you see first on entering? That surface gets full tiles.
- Is the room experienced as symmetrical? Then centre axis, otherwise wall edge.
- How narrow does the border row get? Under a third of a tile, shift it.
- Does the covering continue into the next room? Then one shared axis applies.
How to set the axis
1. Add room and format
Capture the real dimensions, enter tile format and joint width.
2. Play through both axes
Place the grid flush against the wall once and centred on the room axis once.
3. Decide by border width
Pick the variant where the visible border rows stay wide enough.
Examples from the tool
This is what it looks like planned out
The numbers above do not come from a spreadsheet but from a real layout. You can open these example projects directly – floor plan, laying plan and material list, exactly as the tool outputs them.

Small bathroom with tub and stud wall
Under 3 m² of floor left, but two cutouts: this room produces more cut tiles than full ones – exactly where the m² rule of thumb fails.
- 2.82 m² · 30 × 60 · 2 mm joint
- 9 full tiles, 22 cuts
- 35 tiles incl. 10% reserve

Herringbone in the living room
A rectangular room with herringbone at 45°: you can see where the centre axis sits and how the border cuts run out symmetrically all around.
- 21.84 m² · 60 × 30 herringbone
- 84 full planks, 64 cuts
- 5.01 m² waste · 12% reserve
Opens the read-only client view of a share – the same one you create for your own projects with Premium.
Common questions
Do you start tiling in the middle or at the wall?
In rooms you take in as a whole, in the middle: set the centre axis, work symmetrically outward, equal border rows. In rooms with a clear sight line – hallway, kitchen with a long run – flush against the decisive wall. In material terms the wall start is cheaper in the vast majority of rooms.
Why not simply always start in the corner?
Because the entire remainder then lands at two walls. If that hits the wall you look at and leaves a 3 cm strip, it looks cheap and breaks while cutting. The wall start is the right choice if you check beforehand where the remainder falls – not if you leave it to chance.
How do I find the room centre if the walls are not parallel?
Not via the diagonals but via the wall that matters most in the finished room. Align the grid parallel to that wall and centre the axis on it. The out-of-square wall gets the tapered cut – ideally the one a cupboard will stand against later.
Does this apply to herringbone and diagonal laying too?
For herringbone and diagonal the centre axis applies almost without exception: the pattern leads the eye and any off-centre axis shows immediately. The material surcharge is higher there anyway. Details are in the guide on the herringbone starting corner.
With several rooms, do I decide again for each room?
Only if the covering is separated at the door. If the same floor runs through, one shared axis applies to all rooms – otherwise the joints meet offset in the doorway. How to plan that is in the threshold guide.
Read on
- Where does the cut row go?The cut row has to go somewhere. Which wall can take it, how narrow a border strip may get, and how to see both on the floor plan before you glue.
- The 10% rule is wrong: 500 rooms analysedWe ran 500 floor plans through our laying engine. Result: real material surplus ranges from under 2% to over 58%. Method, tables and raw data to…
- Laying herringbone: which corner to start?Learn where to start a herringbone floor: set the centre axis, work symmetrically outward, and preview cuts and the starting point on your floor plan.
- Compare tile patterns on the floor planUse a free tile layout planner to compare straight, diagonal, and herringbone patterns on your floor plan, including cuts, quantities, and waste.
Compare both starting points in your own room
Enter your room dimensions, pick a format and shift the grid offset from the wall to the centre – the numbers update live.
The planning tool opens after free sign-up.