Tile layout guide
A good tile layout starts before the first tile goes down.
It starts with a reliable floor plan, two reference lines and an honest answer to one question: where may the cut tiles end up? This guide takes you from an empty room to a layout you can use for ordering materials and marking the first row.
The planning tool opens after free sign-up.
By the floorplanning.app editorial team
The short answer: test first, bond later
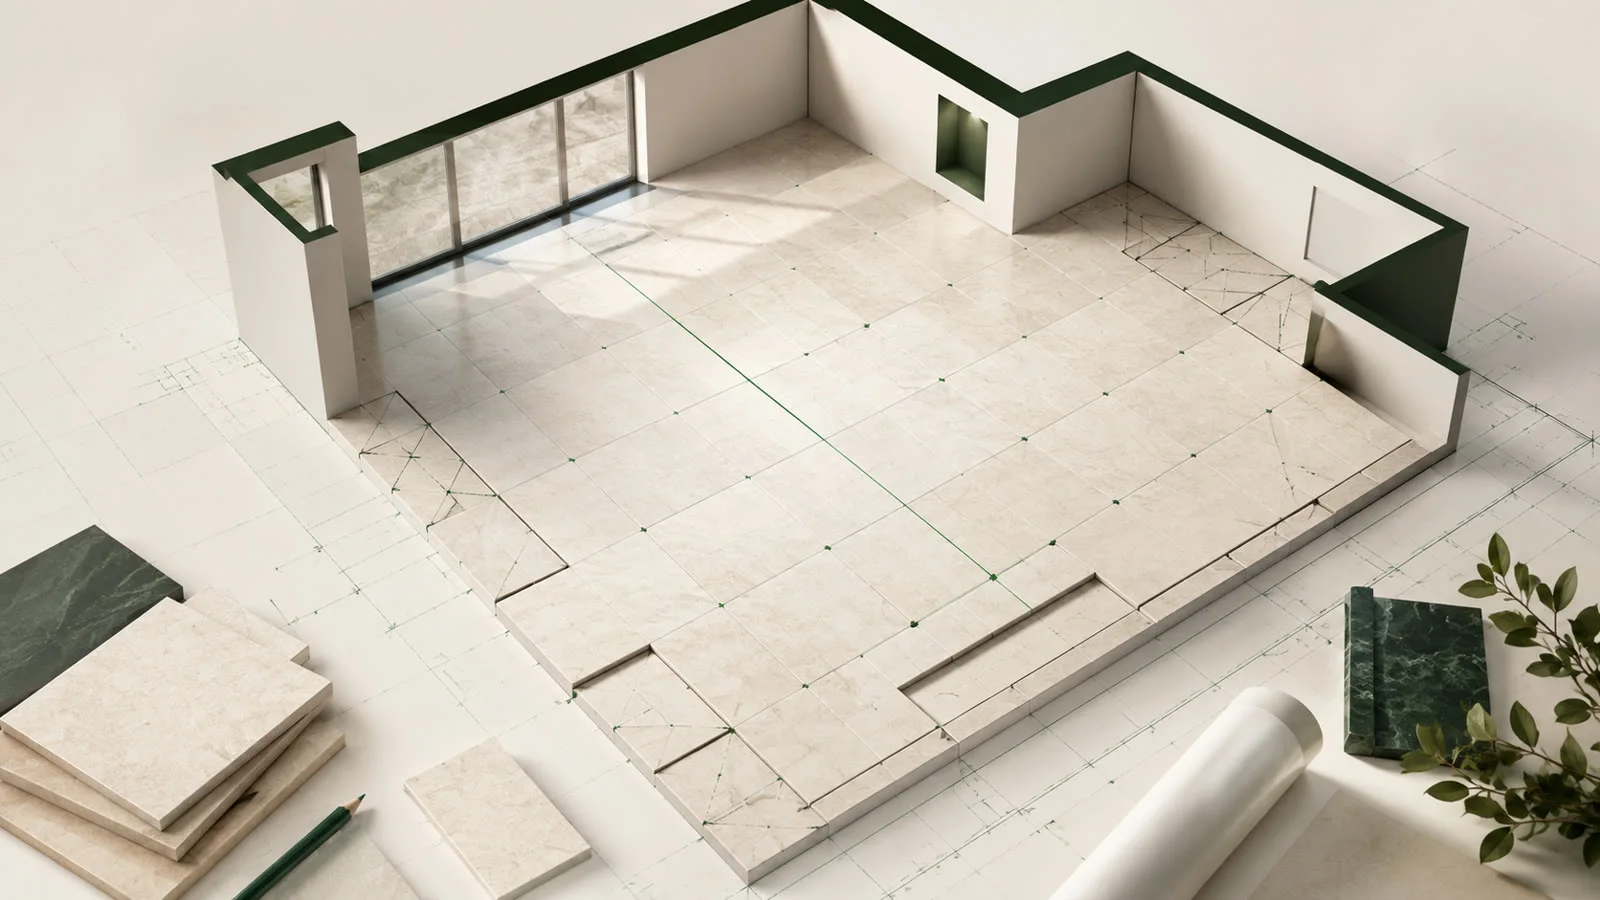
Draw the room to scale, add fixed fittings and doorways, then place a grid over it. Move the grid until visible edges look balanced and avoid unnecessarily narrow strips. Only then transfer the checked layout to the floor using reference lines.

What to gather before planning
These six inputs are enough to build a reliable first version.
- Room dimensions including recesses and projections
- Position and width of every doorway
- Nominal tile size and intended joint width
- Desired pattern and main viewing direction
- Fixed units, columns and floor-level features
- Product data sheets for tile, adhesive and substrate
What matters in practice

1. Your floor plan is the basis for every calculation
Length × width only works for a perfect rectangle. Recesses, boxing, columns and angled walls affect not just area but especially the number of cut tiles. Measure every relevant edge and at least one diagonal as a check. A plan may be simplified, but never where tiles will later be cut.

2. Two reference lines turn an area into a grid
One lengthwise and one crosswise reference line determine how every joint runs through the room. “Start in the centre” does not necessarily mean placing a joint there: the centre of a tile can also sit on the room axis. Test both versions. What matters is the result at visible edges, doors and transitions.

3. Calculate the order quantity after the layout
Square metres tell you the area to cover. A layout also shows how many whole tiles are cut, which offcuts can be reused and whether the chosen grid consumes more material than necessary. Add reserve afterwards for breakage, future repairs and matching batches.
Start at a wall or balance the layout?
Either can be right. Decide from the visible result, not from a rigid rule.
Practical
Start from a reference edge
Useful when one long, straight edge remains visible and the opposite cut row disappears under furniture.
- Easy to transfer to the site
- Fewer starting cuts
- Always check the final row first
Balanced appearance
Balance around an axis
Useful for open sight lines, opposing walls, islands or a prominent pattern.
- Similar border widths on both sides
- Looks calmer in open rooms
- Can create more cut tiles
What a useful tile layout should contain
The plan does not need to look like an architect’s drawing. It needs to capture the decisions you want settled before mixing adhesive, clearly enough that you still understand them the next day.
- Scaled room outline with clearly labelled dimensions
- Tile size including the actual joint width
- Lengthwise and crosswise fixed reference lines
- Laying direction, pattern and offset
- Position of prominent edge and special cuts
- Door transitions and retained movement joints
- Tile count, cuts, waste and a separate reserve
Eight steps to a layout you can start from
1. Empty the room and understand its edges
Decide what is actual floor area and what counts as a fixed cutout. Mark doors, columns, boxing and visible finishing edges.
2. Measure the full outline
Measure every wall run, recess and at least one diagonal. In an older building, never assume four right angles without checking.
3. Create a scaled floor plan
Draw the outline and verify two long dimensions in different directions. Add cutouts only after that.
4. Set tile size, joint and pattern
Use the product’s nominal size and the intended joint. Even with calibrated or rectified tiles, follow the manufacturer’s instructions.
5. Place the first grid option
Align the grid to the most important sight line. Check doors, exposed wall edges and the wall opposite the entrance first.
6. Check border pieces and conflicts
Look for narrow strips, tiny corner pieces and joints that just miss door frames or columns. Move the grid a few centimetres and compare again.
7. Derive material and reserve
Count full and cut tiles from the final layout. Then add a project-appropriate reserve and round up to full boxes or pallets.
8. Transfer the layout to the floor
Transfer the two checked axes using a laser or chalk line. Dry-lay several tiles as a final check before mixing adhesive.
Examples from the tool
This is what it looks like planned out
The numbers above do not come from a spreadsheet but from a real layout. You can open these example projects directly – floor plan, laying plan and material list, exactly as the tool outputs them.

Small bathroom with tub and stud wall
Under 3 m² of floor left, but two cutouts: this room produces more cut tiles than full ones – exactly where the m² rule of thumb fails.
- 2.82 m² · 30 × 60 · 2 mm joint
- 9 full tiles, 22 cuts
- 35 tiles incl. 10% reserve

Three-room flat, one grid
Six rooms, eleven walls, five doorways – and a single herringbone grid running through every opening. Material is calculated for the whole flat at once.
- 63.79 m² across 6 rooms
- 90 × 30 herringbone, one grid
- 334 planks · 199 cuts
Opens the read-only client view of a share – the same one you create for your own projects with Premium.
Common tile-layout questions
Must tiling always start from the centre?
No. The centre is a useful test point, not a rule. A visible reference edge may justify starting from a wall. What matters is balanced border pieces and a clear relationship to the main axis.
How do I avoid a 2 cm strip at the final wall?
Move the grid by roughly half a tile or distribute the missing width across both sides. Then recheck doors and other walls, because improving one edge can create a new sliver elsewhere.
Is graph paper sufficient?
For a simple rectangular room, yes, provided scale, joints and starting point are handled carefully. For angled walls, cutouts or several options, a digital layout is faster to change and easier to evaluate.
Should joint width be included in the layout?
Always. Every row consists of tile size plus joint. Across many rows, a few millimetres can determine whether the border ends with almost a full tile or a narrow strip.
When should a professional review the plan?
For unknown or cracked substrates, wet rooms, exterior areas, large-format tiles, existing movement joints and any structural or waterproofing detail. The geometric layout is only one part of the installation.
Related guides & calculators
- Centre or wall: where should tiling start?Centre or wall edge? The axis decides symmetry and material demand. Analysis of 500 rooms plus a live comparison of both starting points on the floor…
- How to avoid narrow edge cutsThe cut row has to go somewhere. Which wall can take it, how narrow a border strip may get, and how to see both on the floor plan before you glue.
- Compare tile patterns on your floor planUse a free tile layout planner to compare straight, diagonal, and herringbone patterns on your floor plan, including cuts, quantities, and waste.
- Calculate tile quantities from the layoutCalculate tile quantities accurately, including full tiles, cuts, waste, and reserve, and get a reliable material list for purchasing.
Sources & technical references
Technical values can vary by product and build-up. When in doubt, the current installation instructions for the actual system always take precedence.
- Centred, balanced tile layouts and small cuts
Ceramic Tile Education Foundation (CTEF)
Industry explanation of ANSI A108.02: balance areas where possible and avoid excessive or very small edge cuts.
- Using chalk lines for tile layout
Ceramic Tile Education Foundation (CTEF)
Practical basis for straight, repeatable reference lines and continuous grids.
- Substrate requirements and checks
ARDEX GmbH
Overview of dryness, load-bearing capacity, contaminants, flatness, cracks and falls.
Build your tile layout now
Draw the floor plan, enter the tile size and compare several grid options before ordering material or snapping the first line.
The planning tool opens after free sign-up.