Laminate layout guide
Plan the last row before clicking the first one together.
A laminate layout settles direction, row widths, end-joint stagger, doorway transitions and pack quantity before cutting begins. It avoids the classic trap: starting with a full plank and ending with an unstable 3 cm strip. This guide walks you through the complete process.
The planning tool opens after free sign-up.
By the floorplanning.app editorial team
The short answer
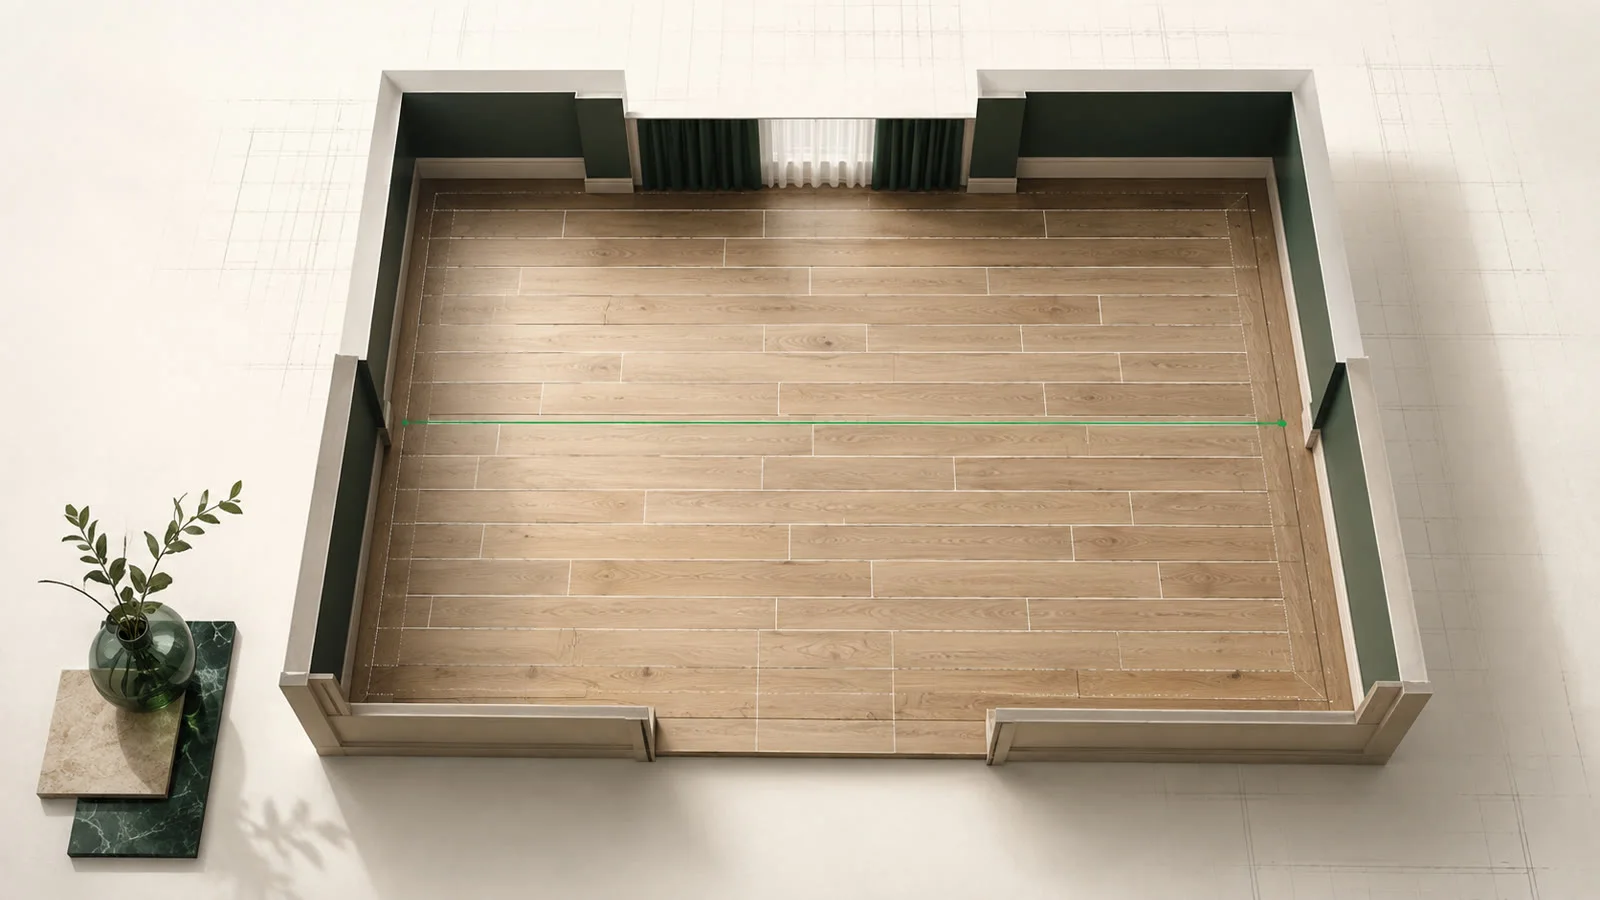
Measure the room across the intended plank direction, subtract perimeter gaps and divide the usable width by plank width. If the final row is narrower than the manufacturer allows, share the cut between first and last rows. Then plan end joints and calculate packs only at the end.

Remaining width = usable room width − (full rows × plank width)
Example: Room 3.64 m, 10 mm gap at each side, 19 cm plank: 3.62 m usable. Nineteen full rows use 3.61 m, leaving only 1 cm. The first and final rows therefore need to be resized together.
Use the plank’s installed cover width, not packaging or raw dimensions. The manufacturer sets minimum row width and perimeter gap.
What matters in practice

1. Choose direction and starting wall together
Light and the room’s long axis are visual guides, not immutable laws. More important is that the locking profile can be assembled in the intended direction and that there is room to angle in the final row. With crooked walls, align the first row to a straight reference line rather than blindly following the wall.

2. Calculate first and last rows as a pair
EPLF gives 5 cm as a general minimum for the final row; the product manufacturer may specify something different. If only 4 cm remains, do not simply make the back row narrower. Reduce the first row too so both sides remain usable. Skirting hides the expansion gap, not an unstable locking joint.

3. Plan end-joint stagger and offcuts together
EPLF recommends a stagger of at least 20 cm or one third of plank length; Quick-Step specifies at least 30 cm for many products. The offcut from one row can start the next only if it is long enough and does not place the next joint too close to the previous one. The product-specific instruction always wins.
Regular or random stagger?
Predictable
Regular stagger
End joints repeat in thirds or another approved fixed sequence.
- Calm, geometric appearance
- Easy to verify on a plan
- May require more deliberate starting cuts
Material-efficient
Random stagger
Suitable offcuts start the next row and joints follow no rigid rhythm.
- More natural joint pattern
- Often makes good use of offcuts
- Check minimum stagger in every row
Five decisions before the first click
A good plan separates visual preferences from technical minimums. First establish what the product requires, then optimise direction, grid and material within those limits.
- Laying direction relative to light, room shape and substrate
- Starting wall and assembly direction of the locking system
- Width of first and final rows
- Regular or random end-joint stagger
- Perimeter and movement gaps at every fixed element
- Breaks at doors and between offset rooms
- Plank count, pack content and repair reserve
Eight steps to a laminate layout
1. Read the product instructions
Note acclimatisation, permitted substrates, perimeter gap, maximum field size, minimum stagger and minimum edge-row width.
2. Check substrate and room
The substrate must be sufficiently flat, dry and sound. Measure the room in several places because opposite walls are rarely perfectly parallel.
3. Choose direction
Compare running toward the main light source and along the room axis. Also check substrate requirements, door junctions and room to assemble the final row.
4. Calculate usable width
Subtract the required gaps on left and right from measured room width. If width varies, calculate several cross-sections.
5. Balance first and final rows
Divide usable width by cover width. If the remaining row is too narrow, reduce the first row so both sides meet the product requirement.
6. Plan the end-joint sequence
Choose a regular sequence or plan a random stagger using suitable offcuts. Flag any row that would fall below minimum stagger.
7. Resolve doors and fixed elements
Perimeter gaps also apply at frames, pipes, columns and stairs. Plan required movement profiles at doors and for large or offset areas.
8. Determine packs and reserve
Count planks from the final grid, divide by pack content and round up to full packs. A small reserve from the same batch helps with future repairs.
Examples from the tool
This is what it looks like planned out
The numbers above do not come from a spreadsheet but from a real layout. You can open these example projects directly – floor plan, laying plan and material list, exactly as the tool outputs them.

Attic room with a slope
A five-sided outline instead of length × width: the slope is drawn as a real edge and the planks run lengthwise – every cut along the slope counted individually.
- 14.71 m² with an angled edge
- 128 × 19 cm plank, laid lengthwise
- 87 planks · 11 packs

Three-room flat, one grid
Six rooms, eleven walls, five doorways – and a single herringbone grid running through every opening. Material is calculated for the whole flat at once.
- 63.79 m² across 6 rooms
- 90 × 30 herringbone, one grid
- 334 planks · 199 cuts
Opens the read-only client view of a share – the same one you create for your own projects with Premium.
Common laminate-layout questions
How wide should the final laminate row be?
EPLF gives 5 cm as a general minimum. Your product instructions are binding. If the remainder is narrower, resize the first and final rows together.
How large must the end-joint stagger be?
EPLF recommends at least 20 cm or one third of plank length. Many manufacturers specify 30 cm. Always use the larger or product-specific required value.
Can an offcut start the next row?
Yes, if it meets minimum length, creates sufficient stagger from the previous joint and suits the intended pattern. Do not install pieces that are too short.
Must laminate always run toward the window?
No. Light affects appearance, but room proportions, substrate and locking direction can matter more. Create two floor-plan options and decide within manufacturer requirements.
Where does laminate need movement profiles?
EPLF lists large areas, doorways, offset adjoining rooms and existing substrate joints among the relevant locations. Manufacturer limits vary widely, so the specific flooring guide is decisive.
Related laminate guides & calculator
- Laminate calculatorCalculate laminate and vinyl online. Enter room and plank dimensions, compare laying directions, and get quantities including waste and reserve.
- Which laying direction is right?Find the right laminate flooring direction for light, room shape, doors, and joints. Preview the layout and avoid narrow edge strips before laying.
- How much laminate do I need?Calculate laminate demand: count planks instead of square metres, derive waste from the real room and determine the number of packs including reserve.
- Calculate skirting and perimeter finishEdge length instead of guesswork: determine the perimeter, deduct door openings, convert to board lengths and allow for waste at corners – indoors…
Sources & technical references
Technical values can vary by product and build-up. When in doubt, the current installation instructions for the actual system always take precedence.
- Technical bulletin: installation of laminate floor coverings
EPLF – Verband der Europäischen Laminatbodenhersteller
Industry guidance on substrate, conditioning, direction, minimum width, edge gaps, movement profiles and end-joint stagger.
- FAQ on laying direction and expansion gaps
EPLF – Verband der Europäischen Laminatbodenhersteller
Accessible explanations of light direction, perimeter movement space and the priority of manufacturer instructions.
- Installing laminate step by step
Quick-Step / Unilin
Product-specific guidance on calculating rows, a minimum 5 cm final row and at least 30 cm stagger for the products described.
Calculate your laminate layout
Enter room and plank dimensions, compare direction and stagger, then see edge-row widths and the number of packs actually required.
The planning tool opens after free sign-up.