Getting started
Getting started with floorplanning.app
floorplanning.app runs right in your browser – free, no installation, on desktop and on your phone. This page takes you from an empty floor plan to a finished laying plan with a material list in just a few minutes.
Video tutorial
Getting started in 8 minutes – the video
One full pass through the tool: create the floor plan, pick a floor and laying pattern, read off the material. Ideal if you prefer being shown the flows before diving in. (Video in German.)
The video is only loaded from YouTube after your click. This transfers data (e.g. your IP address) to Google – possibly also to the USA. Until then, no connection to YouTube is made.
Three steps to your laying plan
That is all a first plan needs – everything else can be refined later.
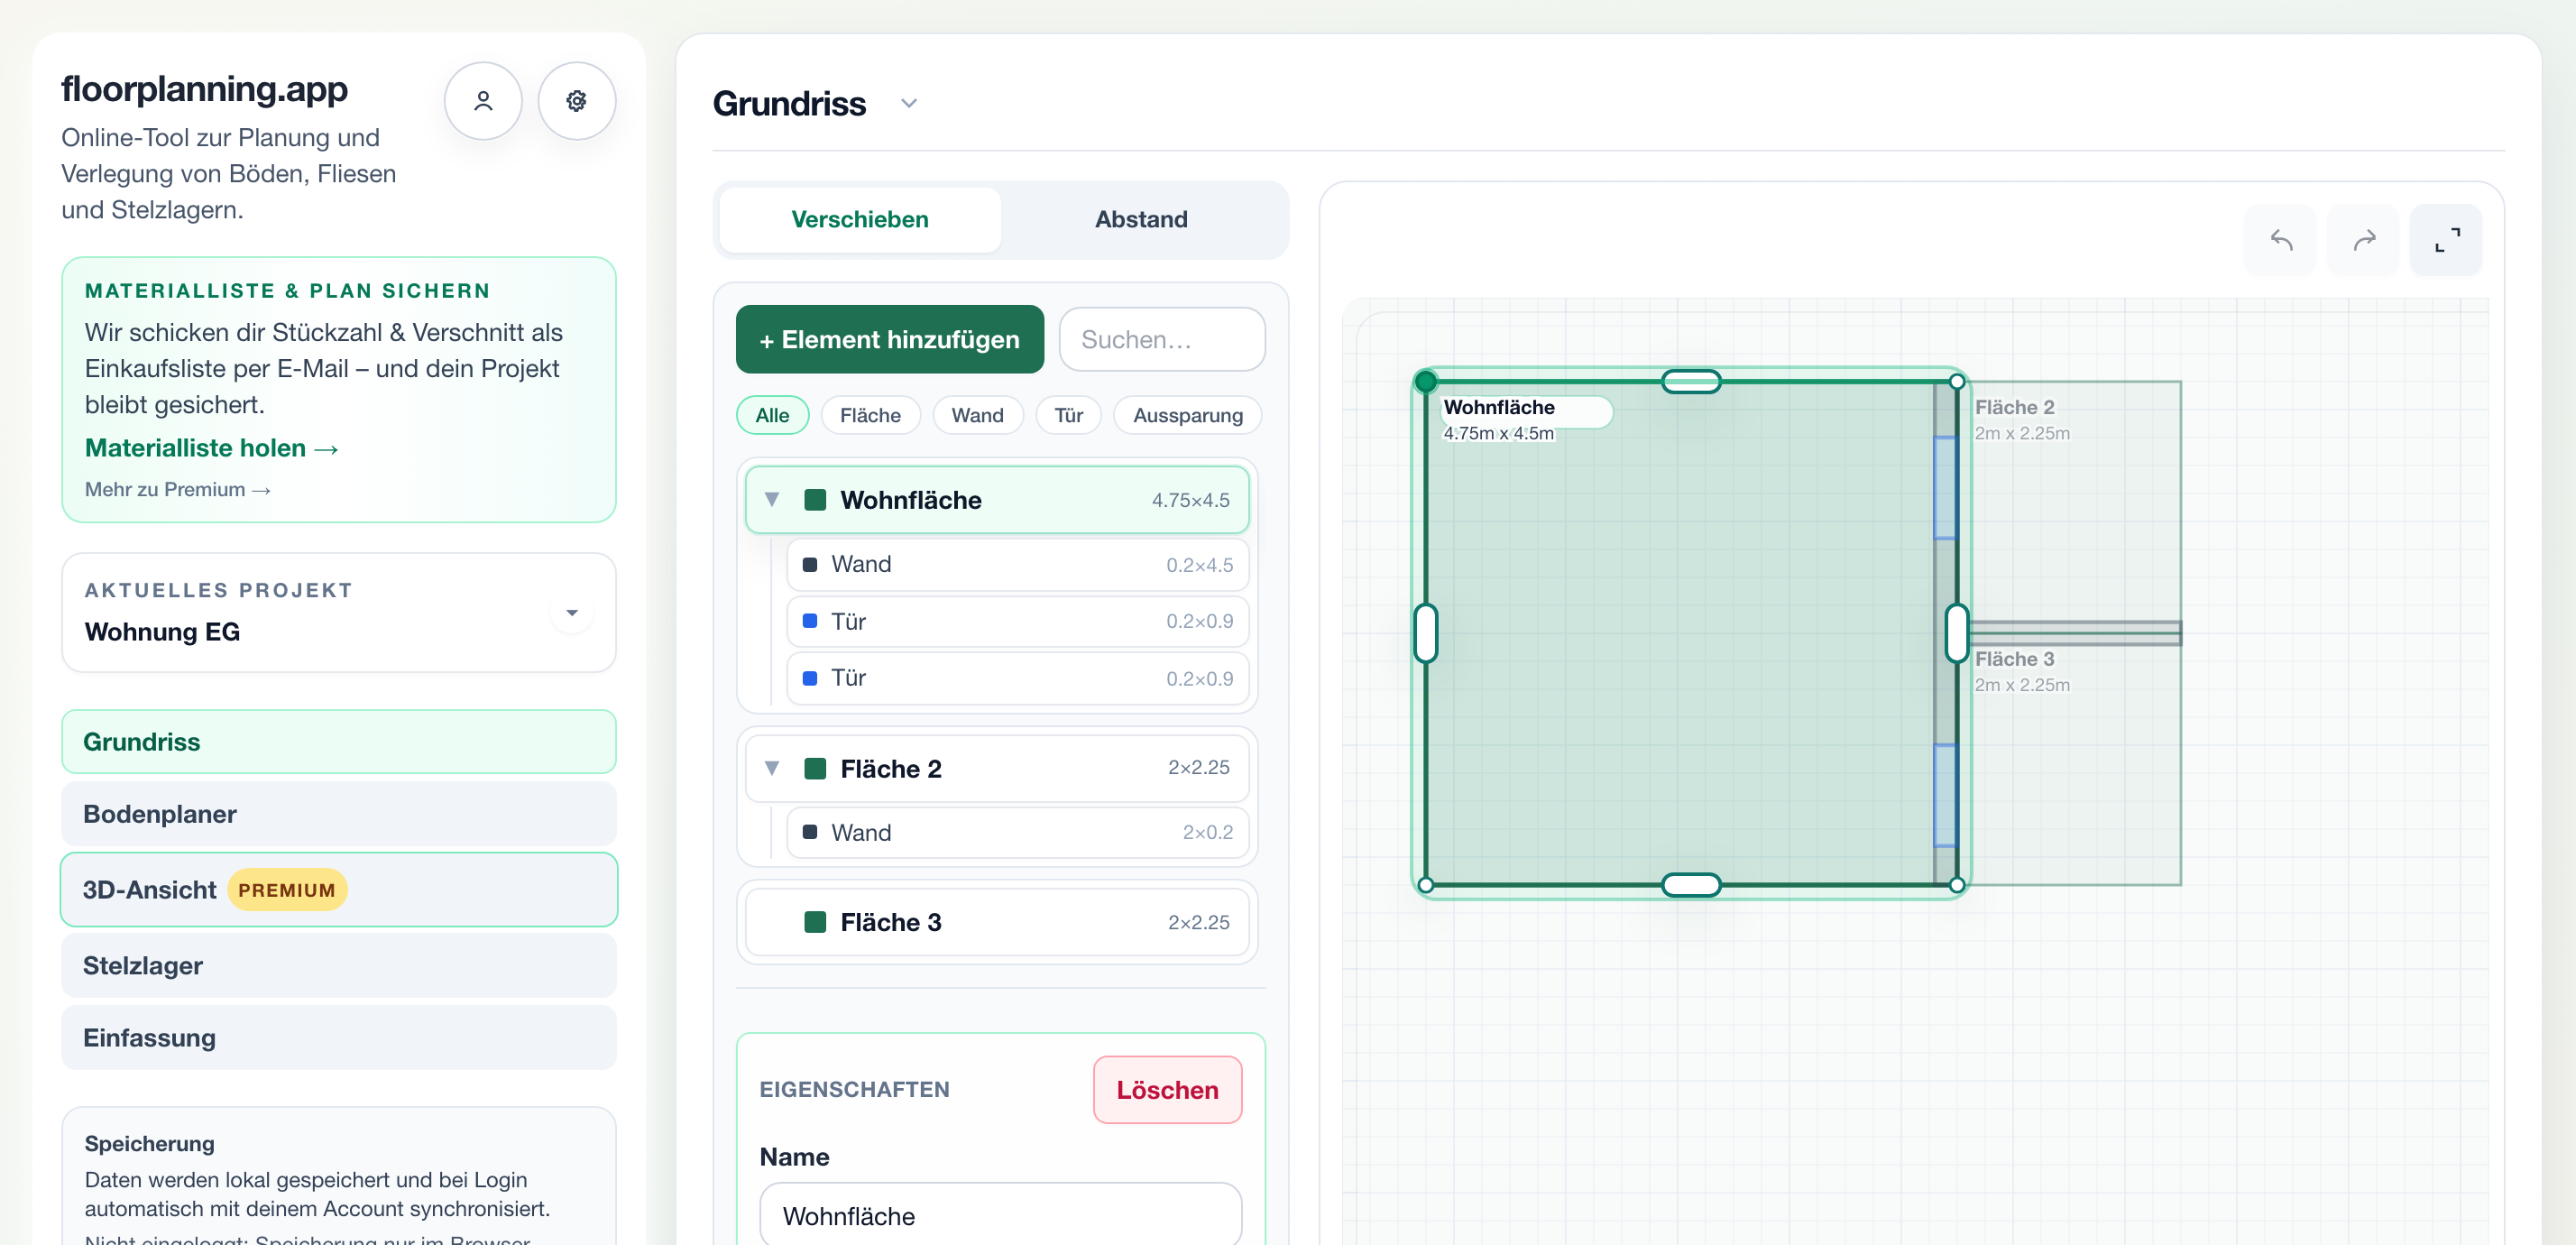
Create your floor plan
Start with the example project or add your own areas. Walls, doors and cutouts are added via “Add element” – dimensions are set directly on each element, in metres or centimetres.
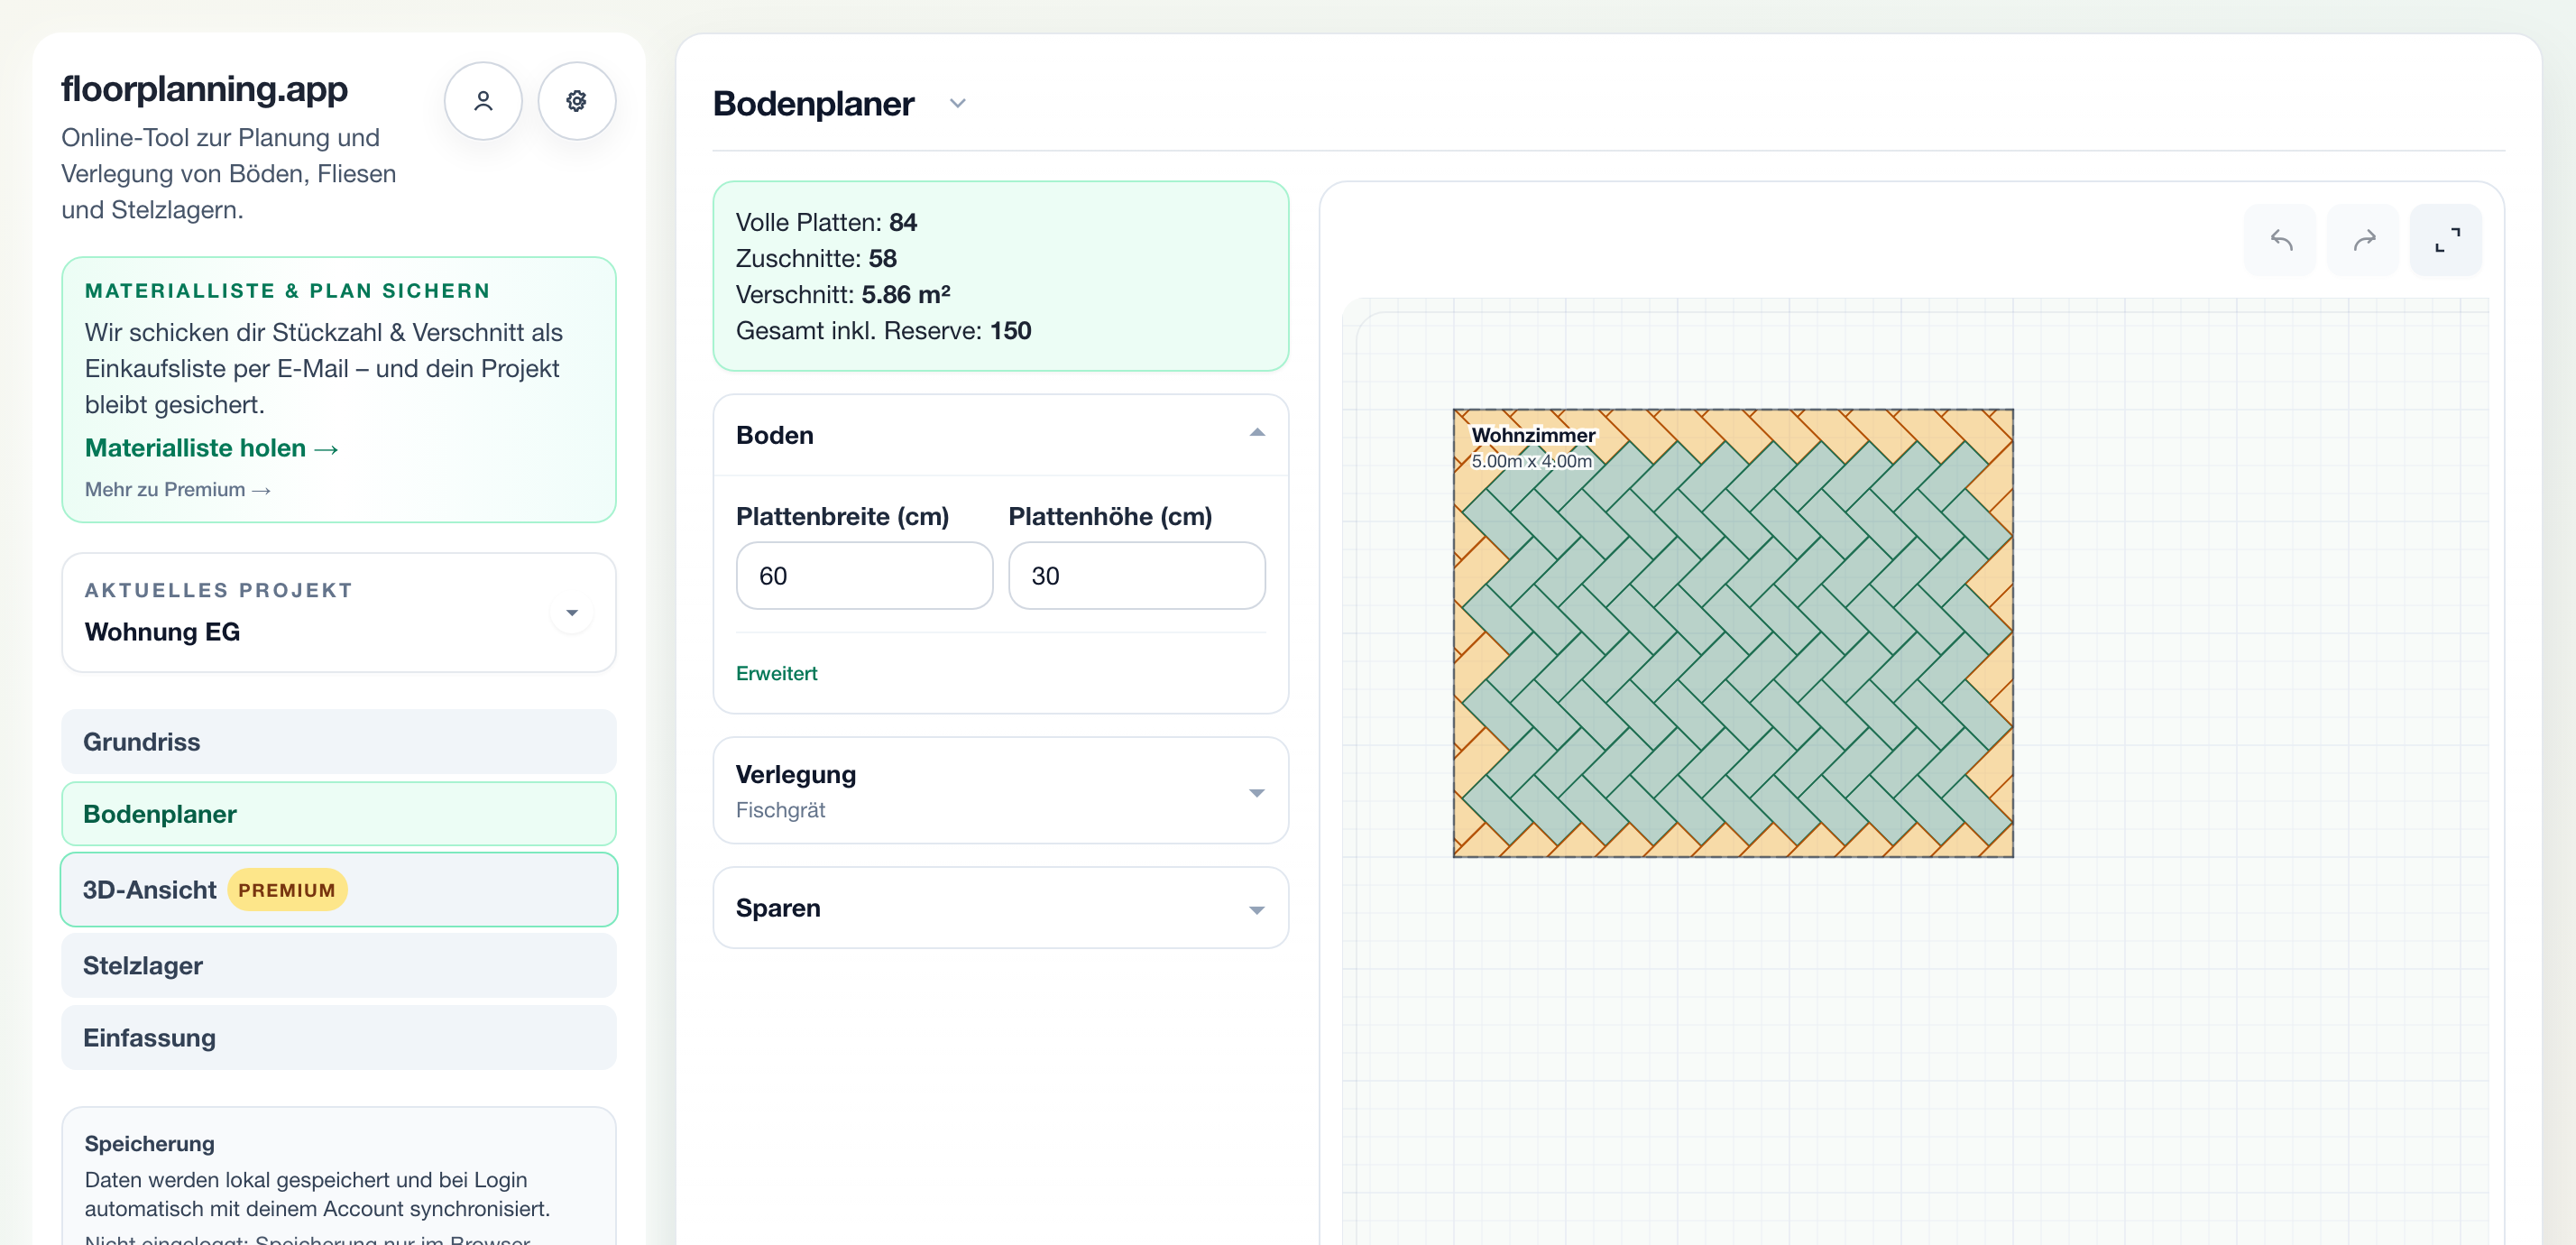
Pick a floor and test patterns
In the floor planner you set the format and joint width and compare laying patterns such as straight, offset bond or herringbone. Every change is rendered on the floor plan instantly – including all cuts.
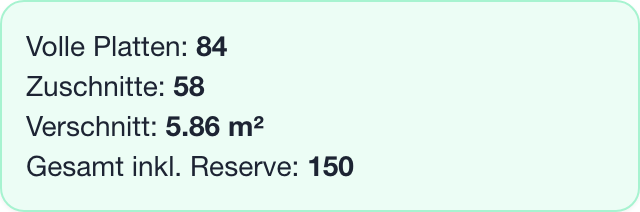
Read off material and save
Full tiles, cuts, waste and reserve are shown live next to the plan. With a free account you get the material list as a shopping list by email and your project is saved to the cloud automatically.
Desktop or phone: how the controls compare
The tool adapts to your device. On desktop you work with mouse and sidebar, on the phone with touch gestures and a dedicated control bar.
On desktop
- Switch modules via the navigation on the left.
- Move and resize areas and elements directly with the mouse; the properties panel shows dimensions and options for the selected element.
- In the floor planner, dragging on the floor moves the tile grid; dragging on empty space pans the view.
- Undo/redo and edge/wall alignment are always within reach.
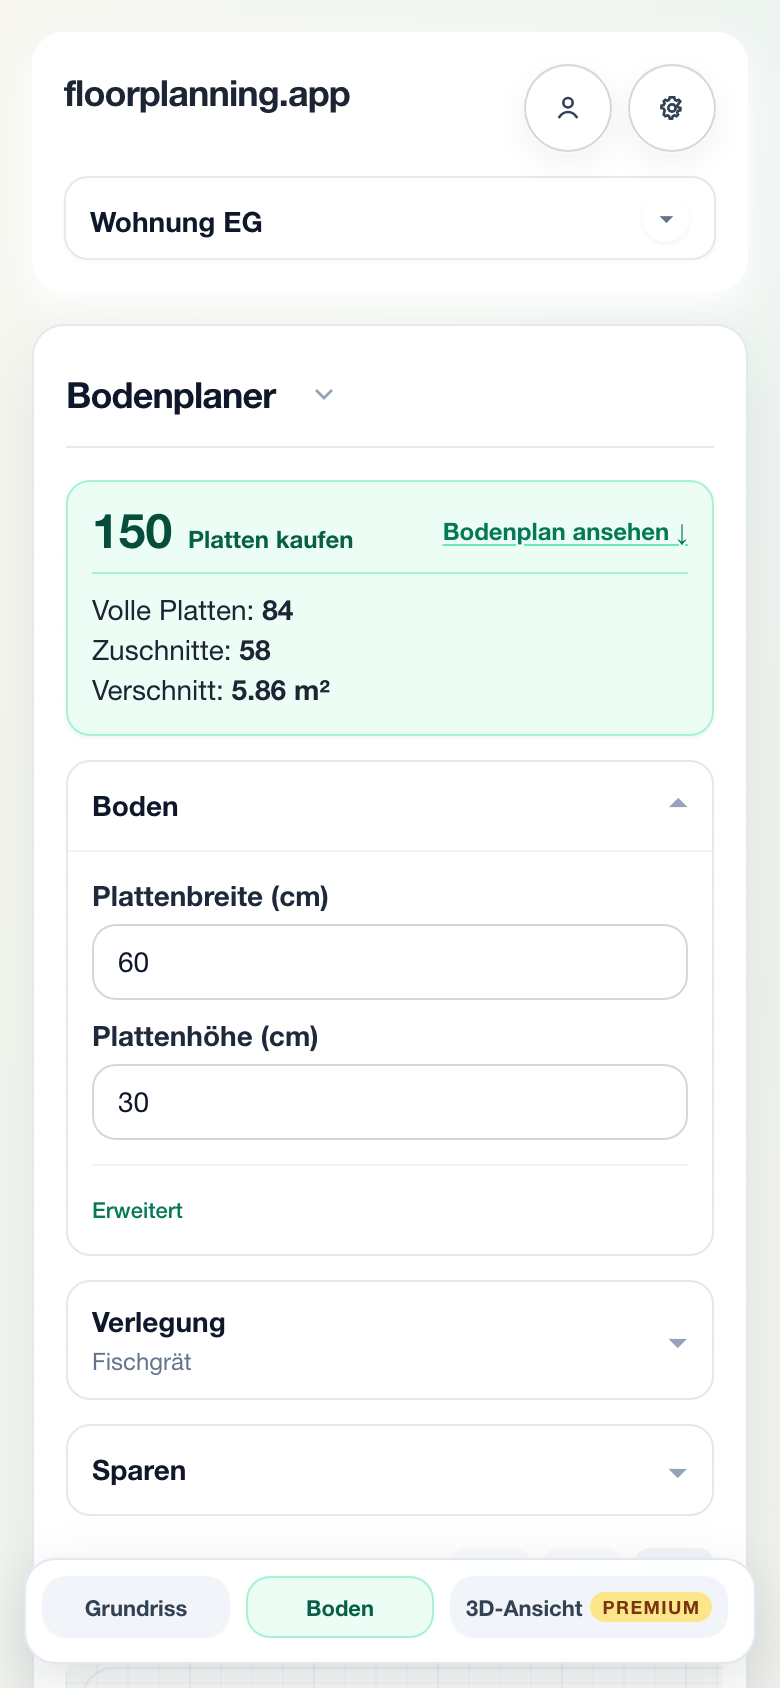
On your phone
- Modules live in the tab bar at the bottom – the floor planner is simply called “Floor” there.
- Tapping selects an area; the action bar below offers “Dimensions”, “Rotate”, “Delete” and “+” for new elements.
- Position and size are set precisely with directional pads instead of dragging with a mouse.
- In the Floor tab you move the grid with your finger directly on the floor; “Fine-tune” in the bottom bar moves it centimetre by centimetre.
- All calculations are identical to desktop – start on the go and continue on your computer.
The most important actions at a glance
| Action | Desktop | Phone |
|---|---|---|
| Switch module | Left navigation | Bottom tab bar |
| Select element | Click | Tap |
| Move / resize element | Drag with the mouse | Directional pads (position / size) |
| Move tile grid | Drag the floor with the mouse | Drag the floor with your finger or “Fine-tune” |
| Enter dimensions | Properties panel | “Dimensions” in the action bar |
The five modules at a glance
Each module opens directly in the tool – your project is kept.
Layout
Create areas, walls, doors and cutouts – the basis for all calculations.
Open in tool →Floor planner
Tiles, laminate or vinyl: test format, joint and laying pattern, see cuts and waste live.
Open in tool →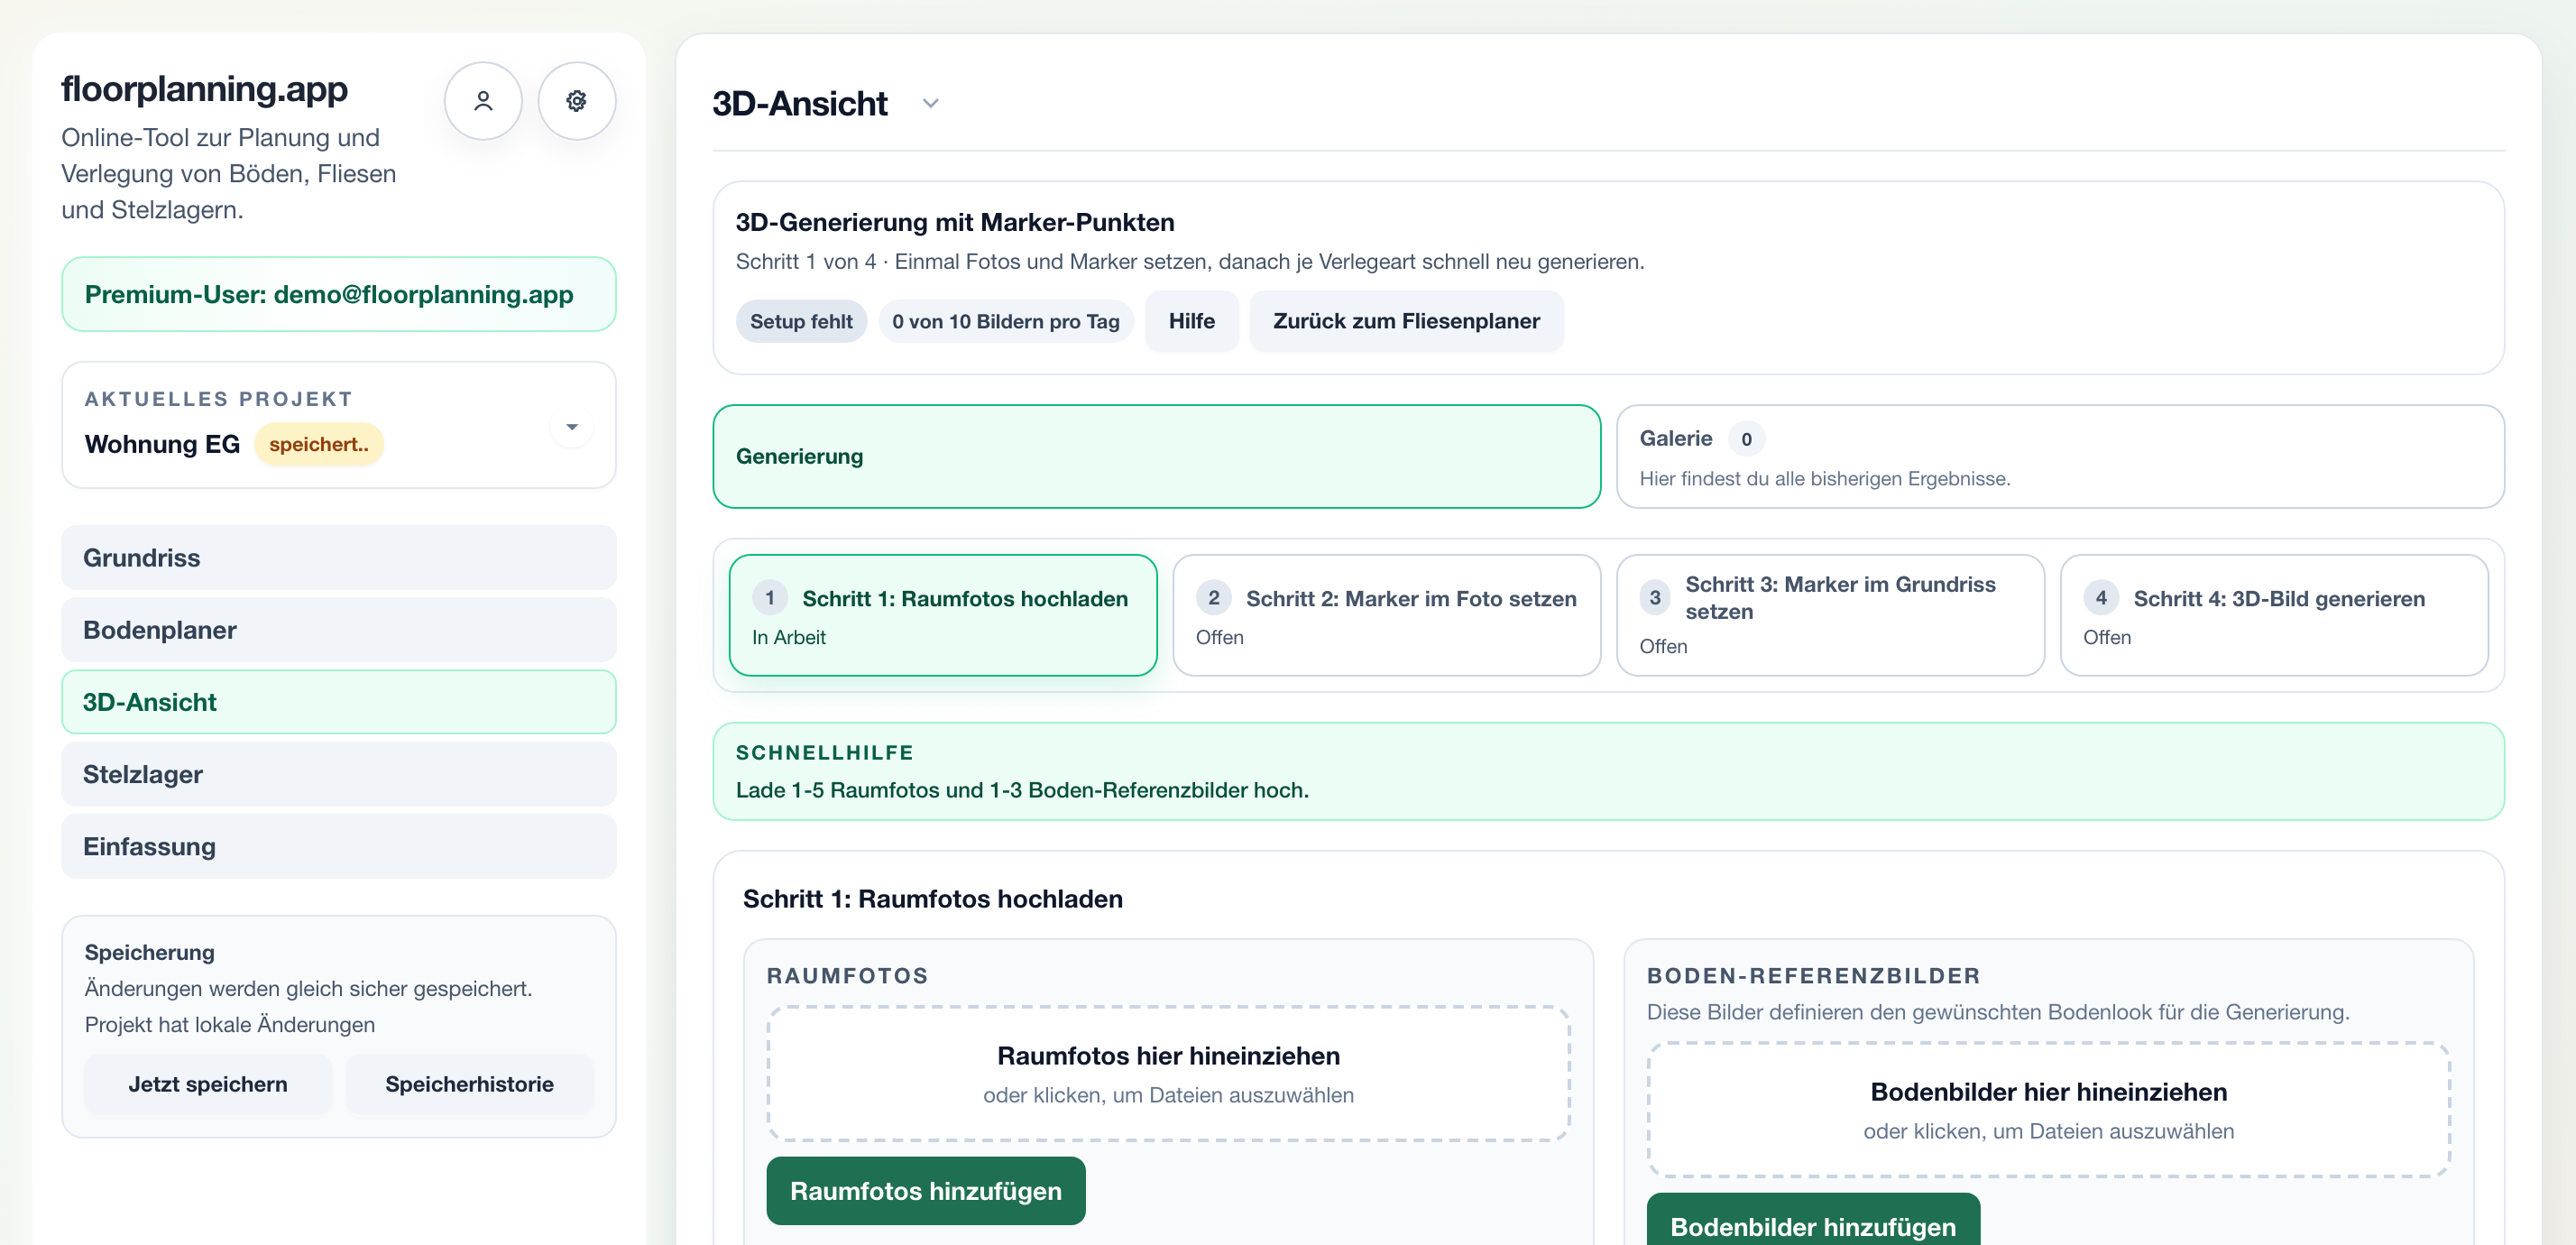
3D view
Photos of your room or terrace become a photorealistic image with your planned floor (Premium).
Open in tool →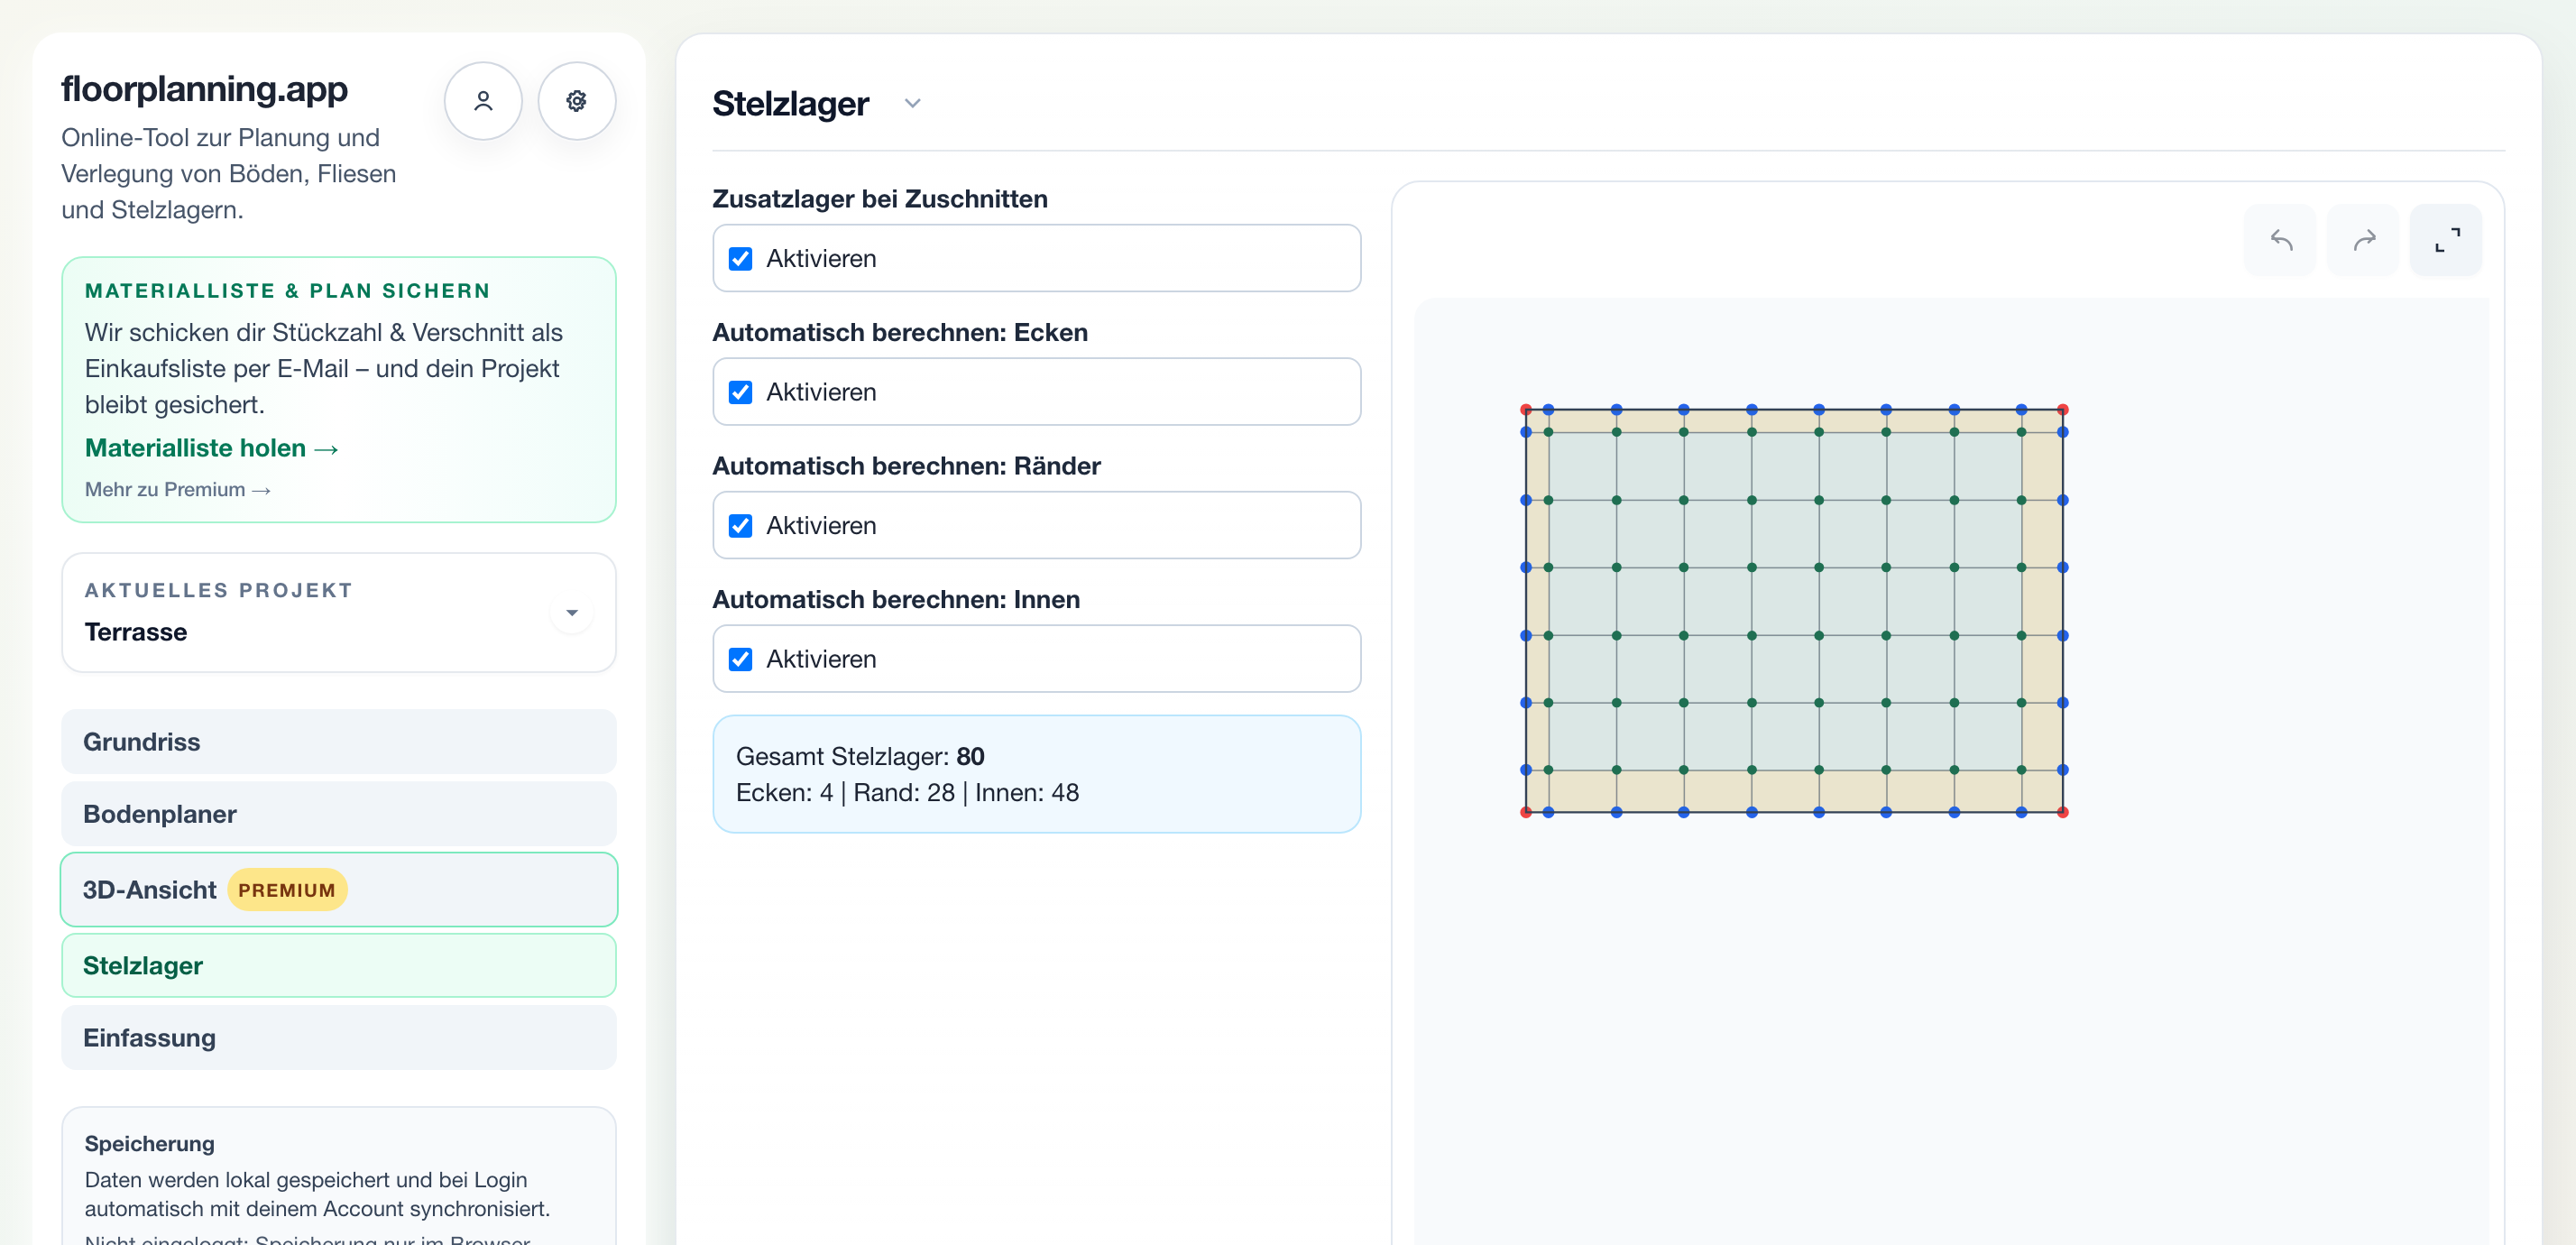
Pedestals
Calculate support points for terrace slabs automatically – split into corners, edges and interior points.
Open in tool →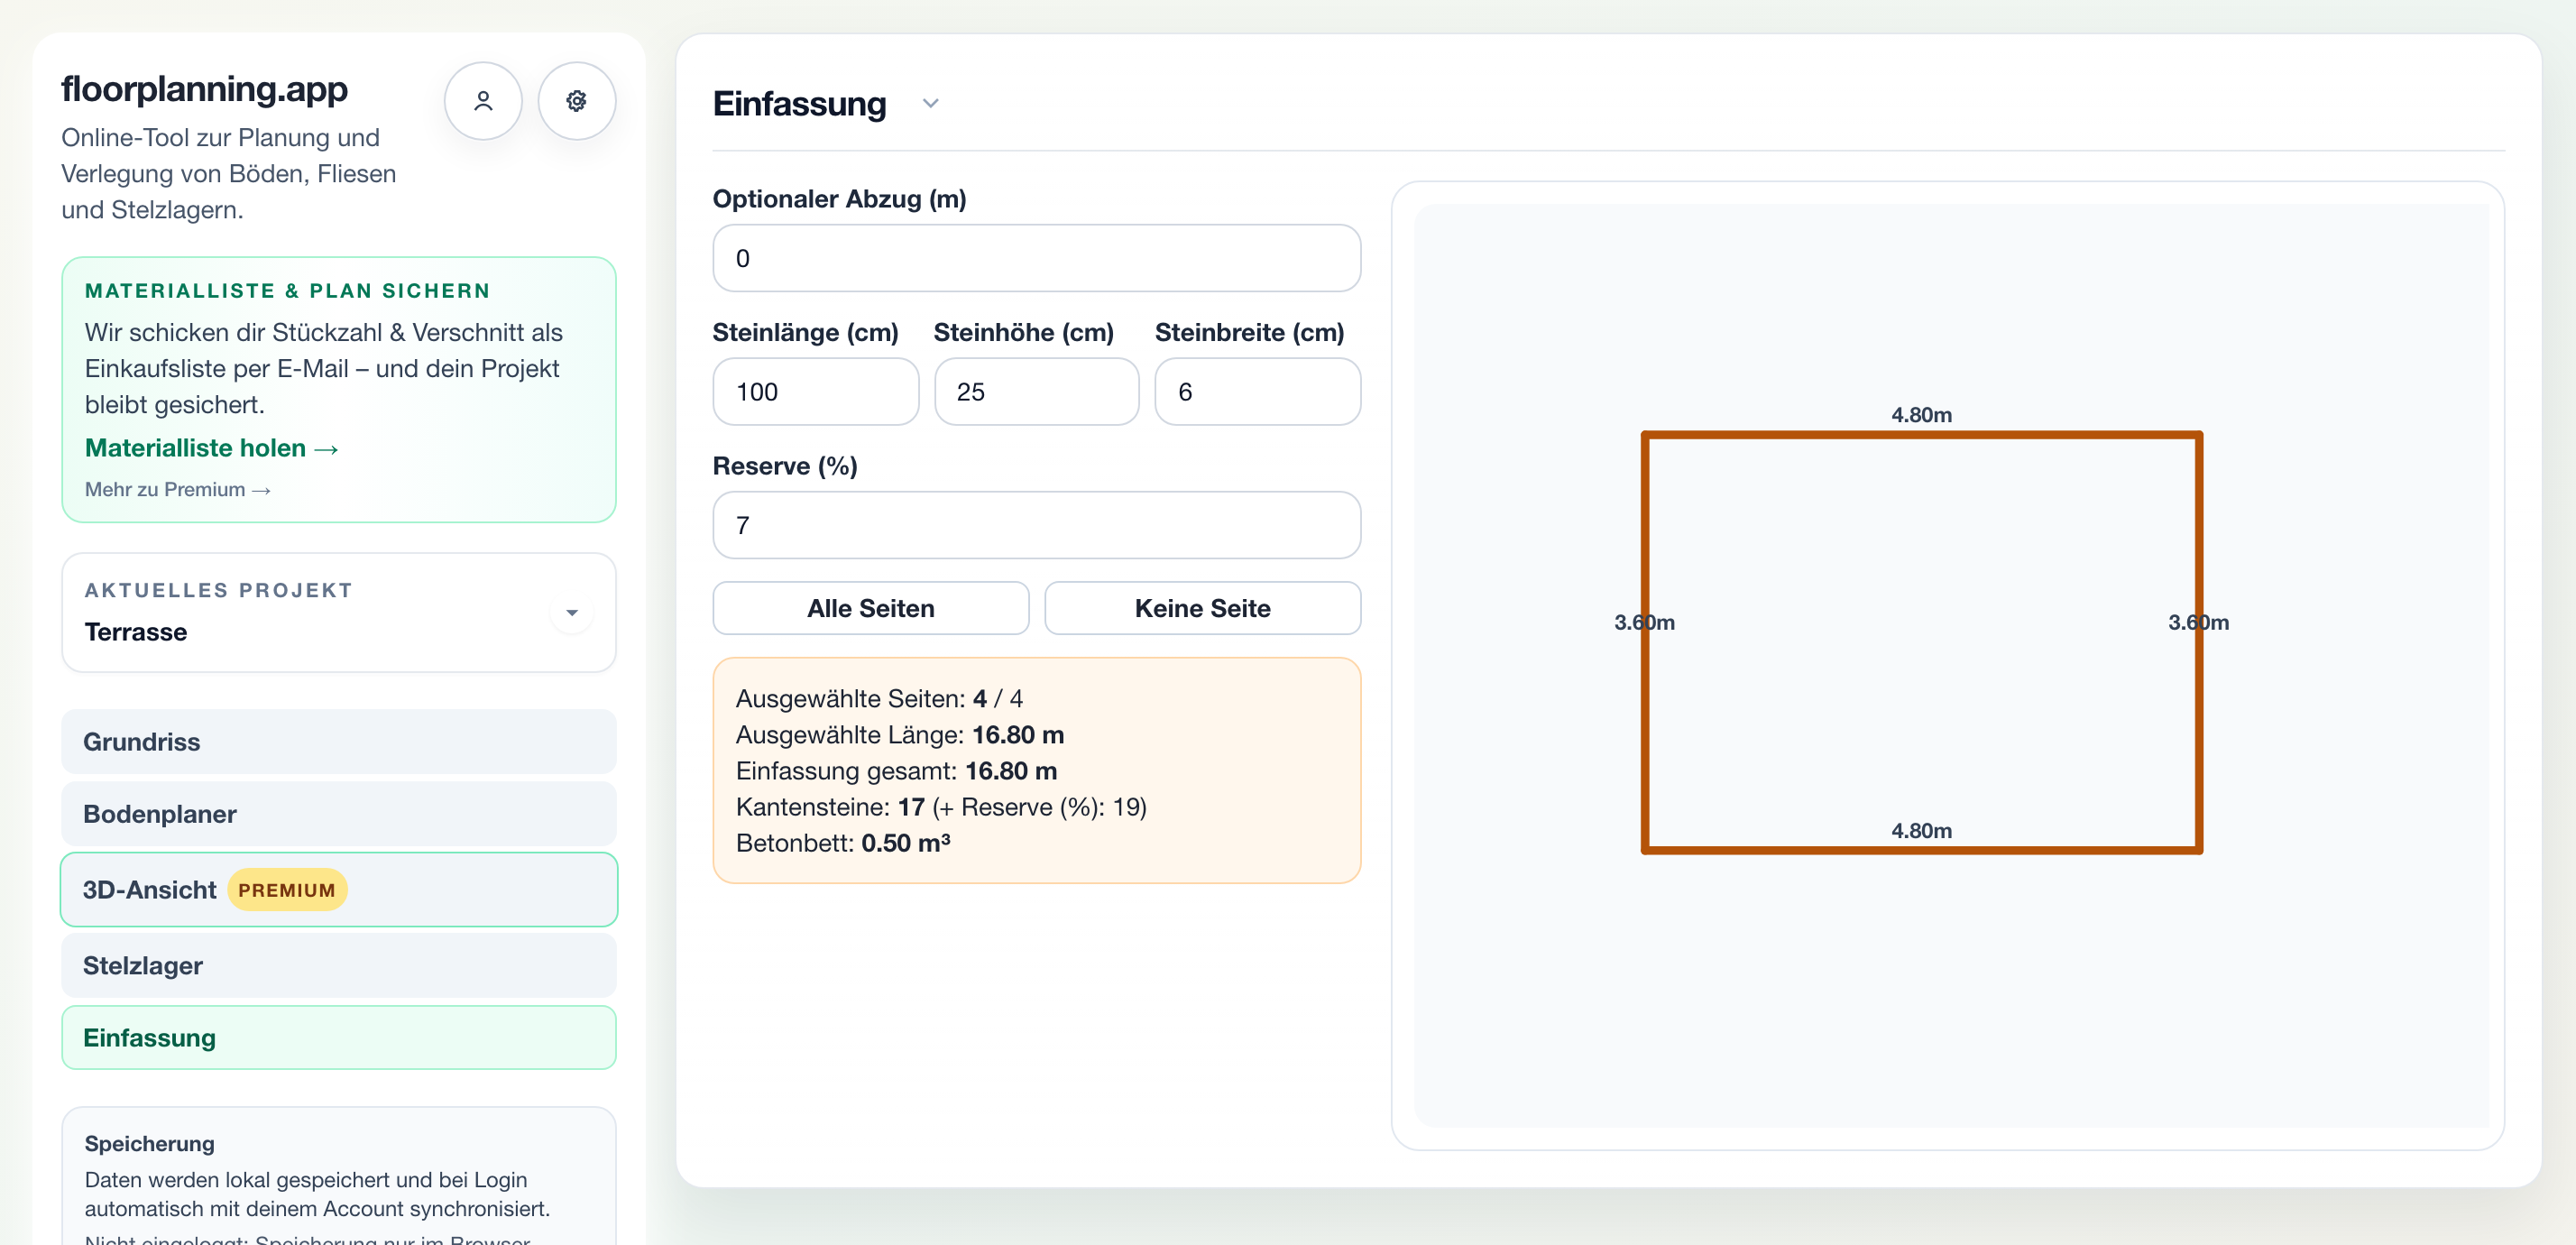
Edging
Plan edging stones and the concrete bed for your terrace border and read off quantities directly.
Open in tool →Saving, account and Premium
Without an account
Your project is saved locally in your browser automatically. Start right away, no registration needed.
With a free account
Your project is additionally saved to the cloud and you receive the material list as a shopping list by email – everything survives device changes.
With Premium
Unlimited cloud projects, version history, import/export, different floors per area and the photorealistic 3D view.
Common questions when starting
Is floorplanning.app free?
Yes. Floor plan, floor planner, pedestal and edging calculations are free to use. A free account saves your project to the cloud; Premium unlocks extras such as the 3D view and unlimited projects.
Do I have to install anything?
No. The tool runs entirely in the browser – on desktop, tablet and phone. There is nothing to download.
Does the tool work on my phone?
Yes. On small screens the interface switches to a touch layout with a bottom tab bar and directional pads for position and size. The calculations are identical to desktop.
Where is my data stored?
Without an account everything stays local in your browser. With an account your project is additionally saved to the cloud and synchronised automatically.
Can I start with an example project?
Yes. On your first visit you pick a starter template (interior or terrace) and get a ready-made example project you can adapt right away.
Which floor coverings does the tool support?
Anything laid on a grid: tiles, terrace slabs, laminate, vinyl and parquet – including laying patterns such as herringbone or third-offset bond.
The best way to learn: just try it
Open the tool with an example project and take your first steps – no registration required.
Read on afterwards
In-depth guides and calculators for your specific project.